WEEKEND GUIDE TO HORSESHOE BEND, ANTELOPE CANYON & GRAND CANYON
Arizona is best known for its dramatic natural landscapes, jaw-dropping panoramic vistas and scenic slot canyons. Among the various destinations in the area, by far the most popular and photogenic of them all are Grand Canyon National Park, Horseshoe Bend and Antelope Canyon. If you only have a weekend, it’s completely doable to see the best of all three sites! Here’s a quick run down of my Arizona itinerary and how you can see these three iconic spots in one trip.
How To Spend A Weekend in Arizona:
Friday: Fly Into Phoenix, AZ
After putting in a full day of work on Friday, we took an evening Southwest Airlines flight out from SFO to PHX. I love that Phoenix is a quick 2 hour nonstop flight away from San Francisco! We landed, picked up our rental car from Avis and stopped for a nice dinner at Chico Malo in Phoenix. I loved the outdoor patio and laid-back vibes here, and the food & drinks were both great!
After dinner, we drove 3 hours to Flagstaff, AZ and stayed at Twin Arrows Navajo Casino Resort for our first night since it was (kind of) halfway between Phoenix and the Grand Canyon. so it helped break up the drive a bit.
Where to Stay: Twin Arrows Navajo Casino Resort in Flagstaff, AZ
Saturday: The Grand Canyon
We left our hotel in Flagstaff at 10AM, picked up coffee & breakfast at Firecreek Coffee Company and drove 2 hours to the South Rim of Grand Canyon National Park.
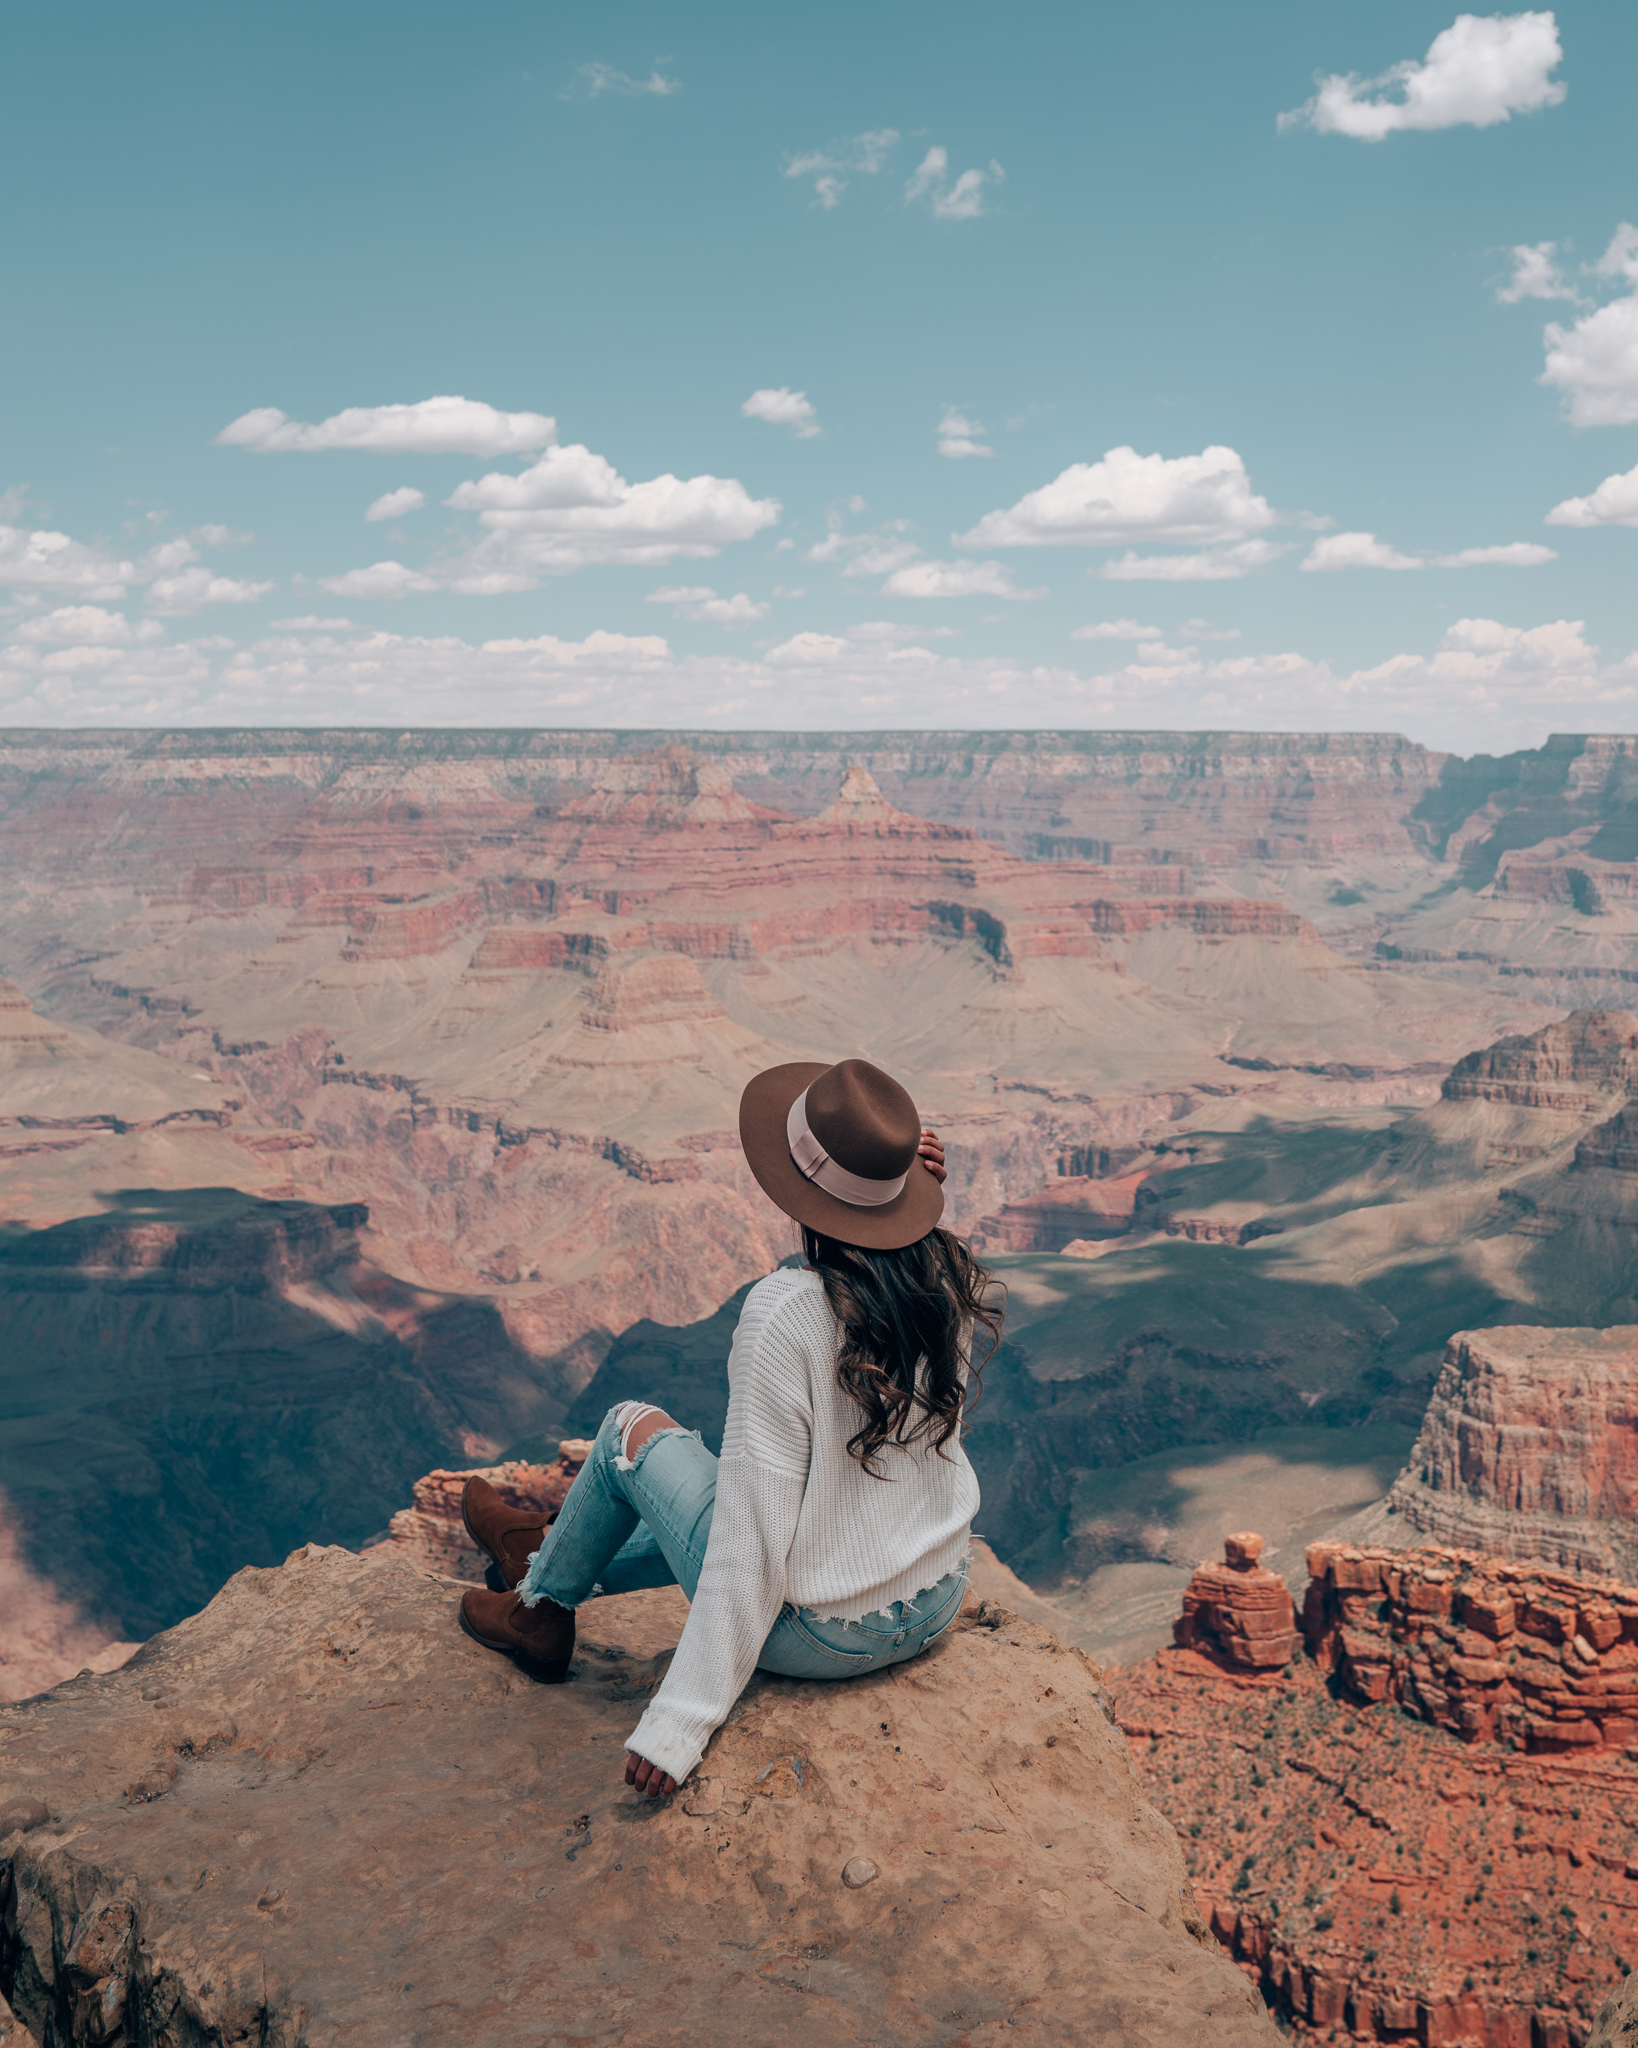
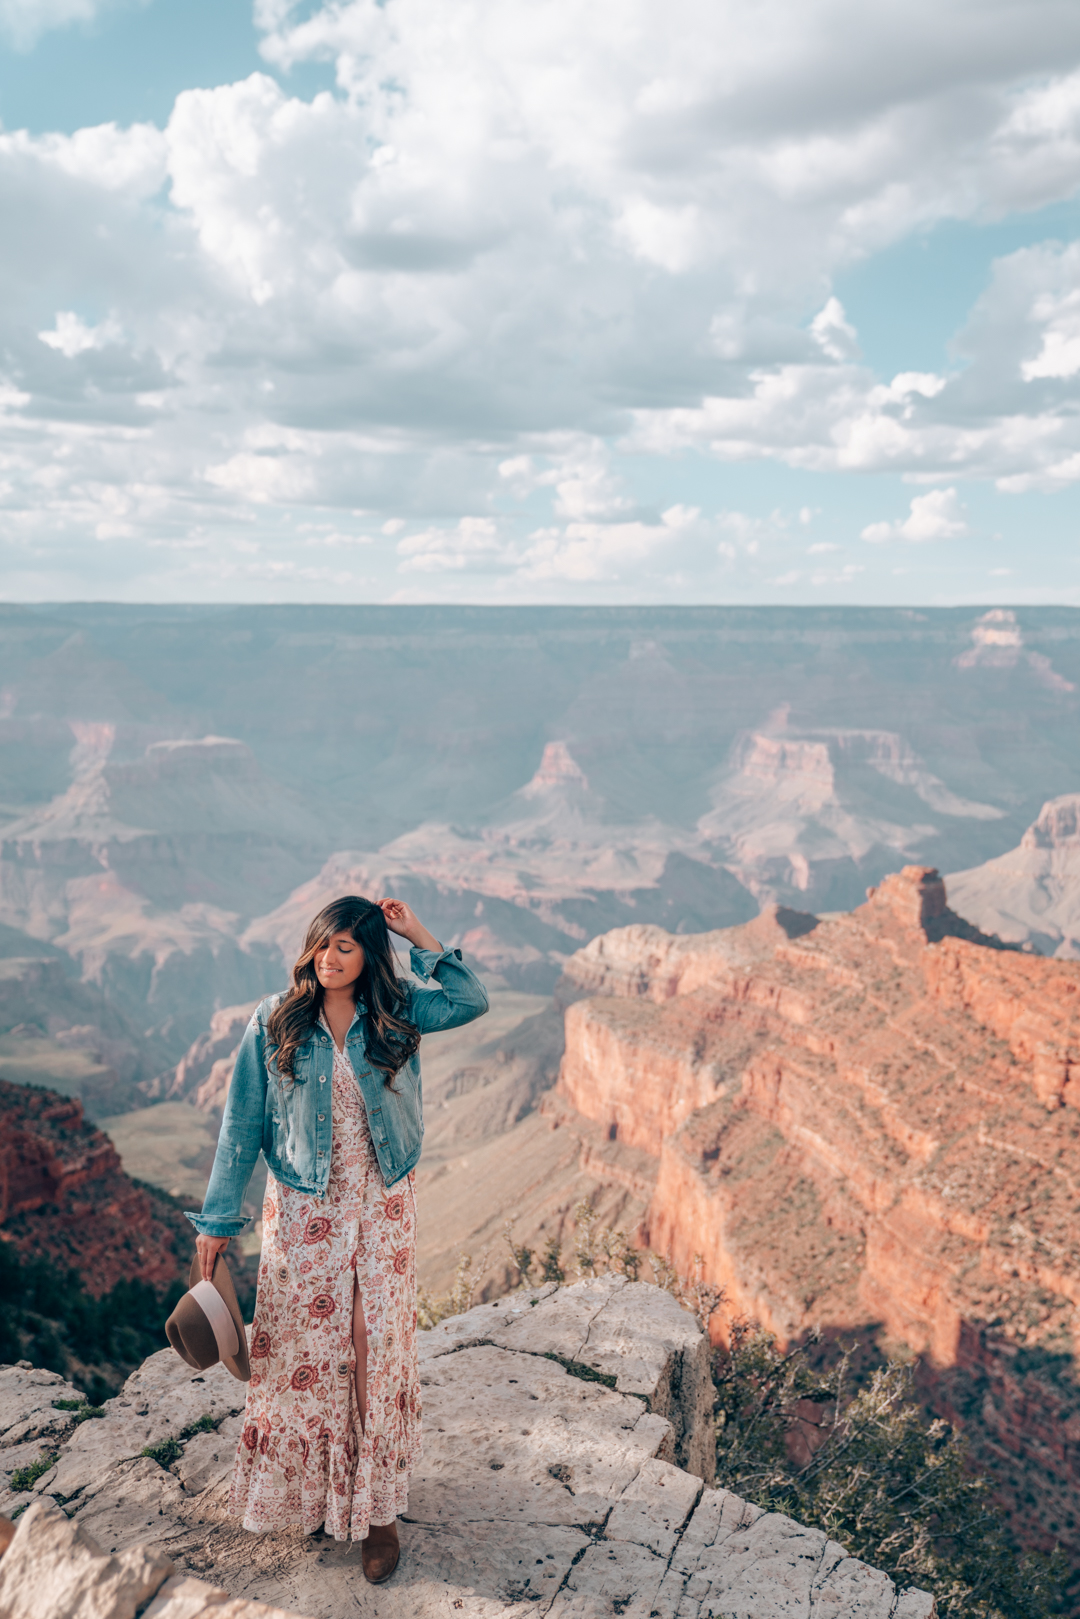
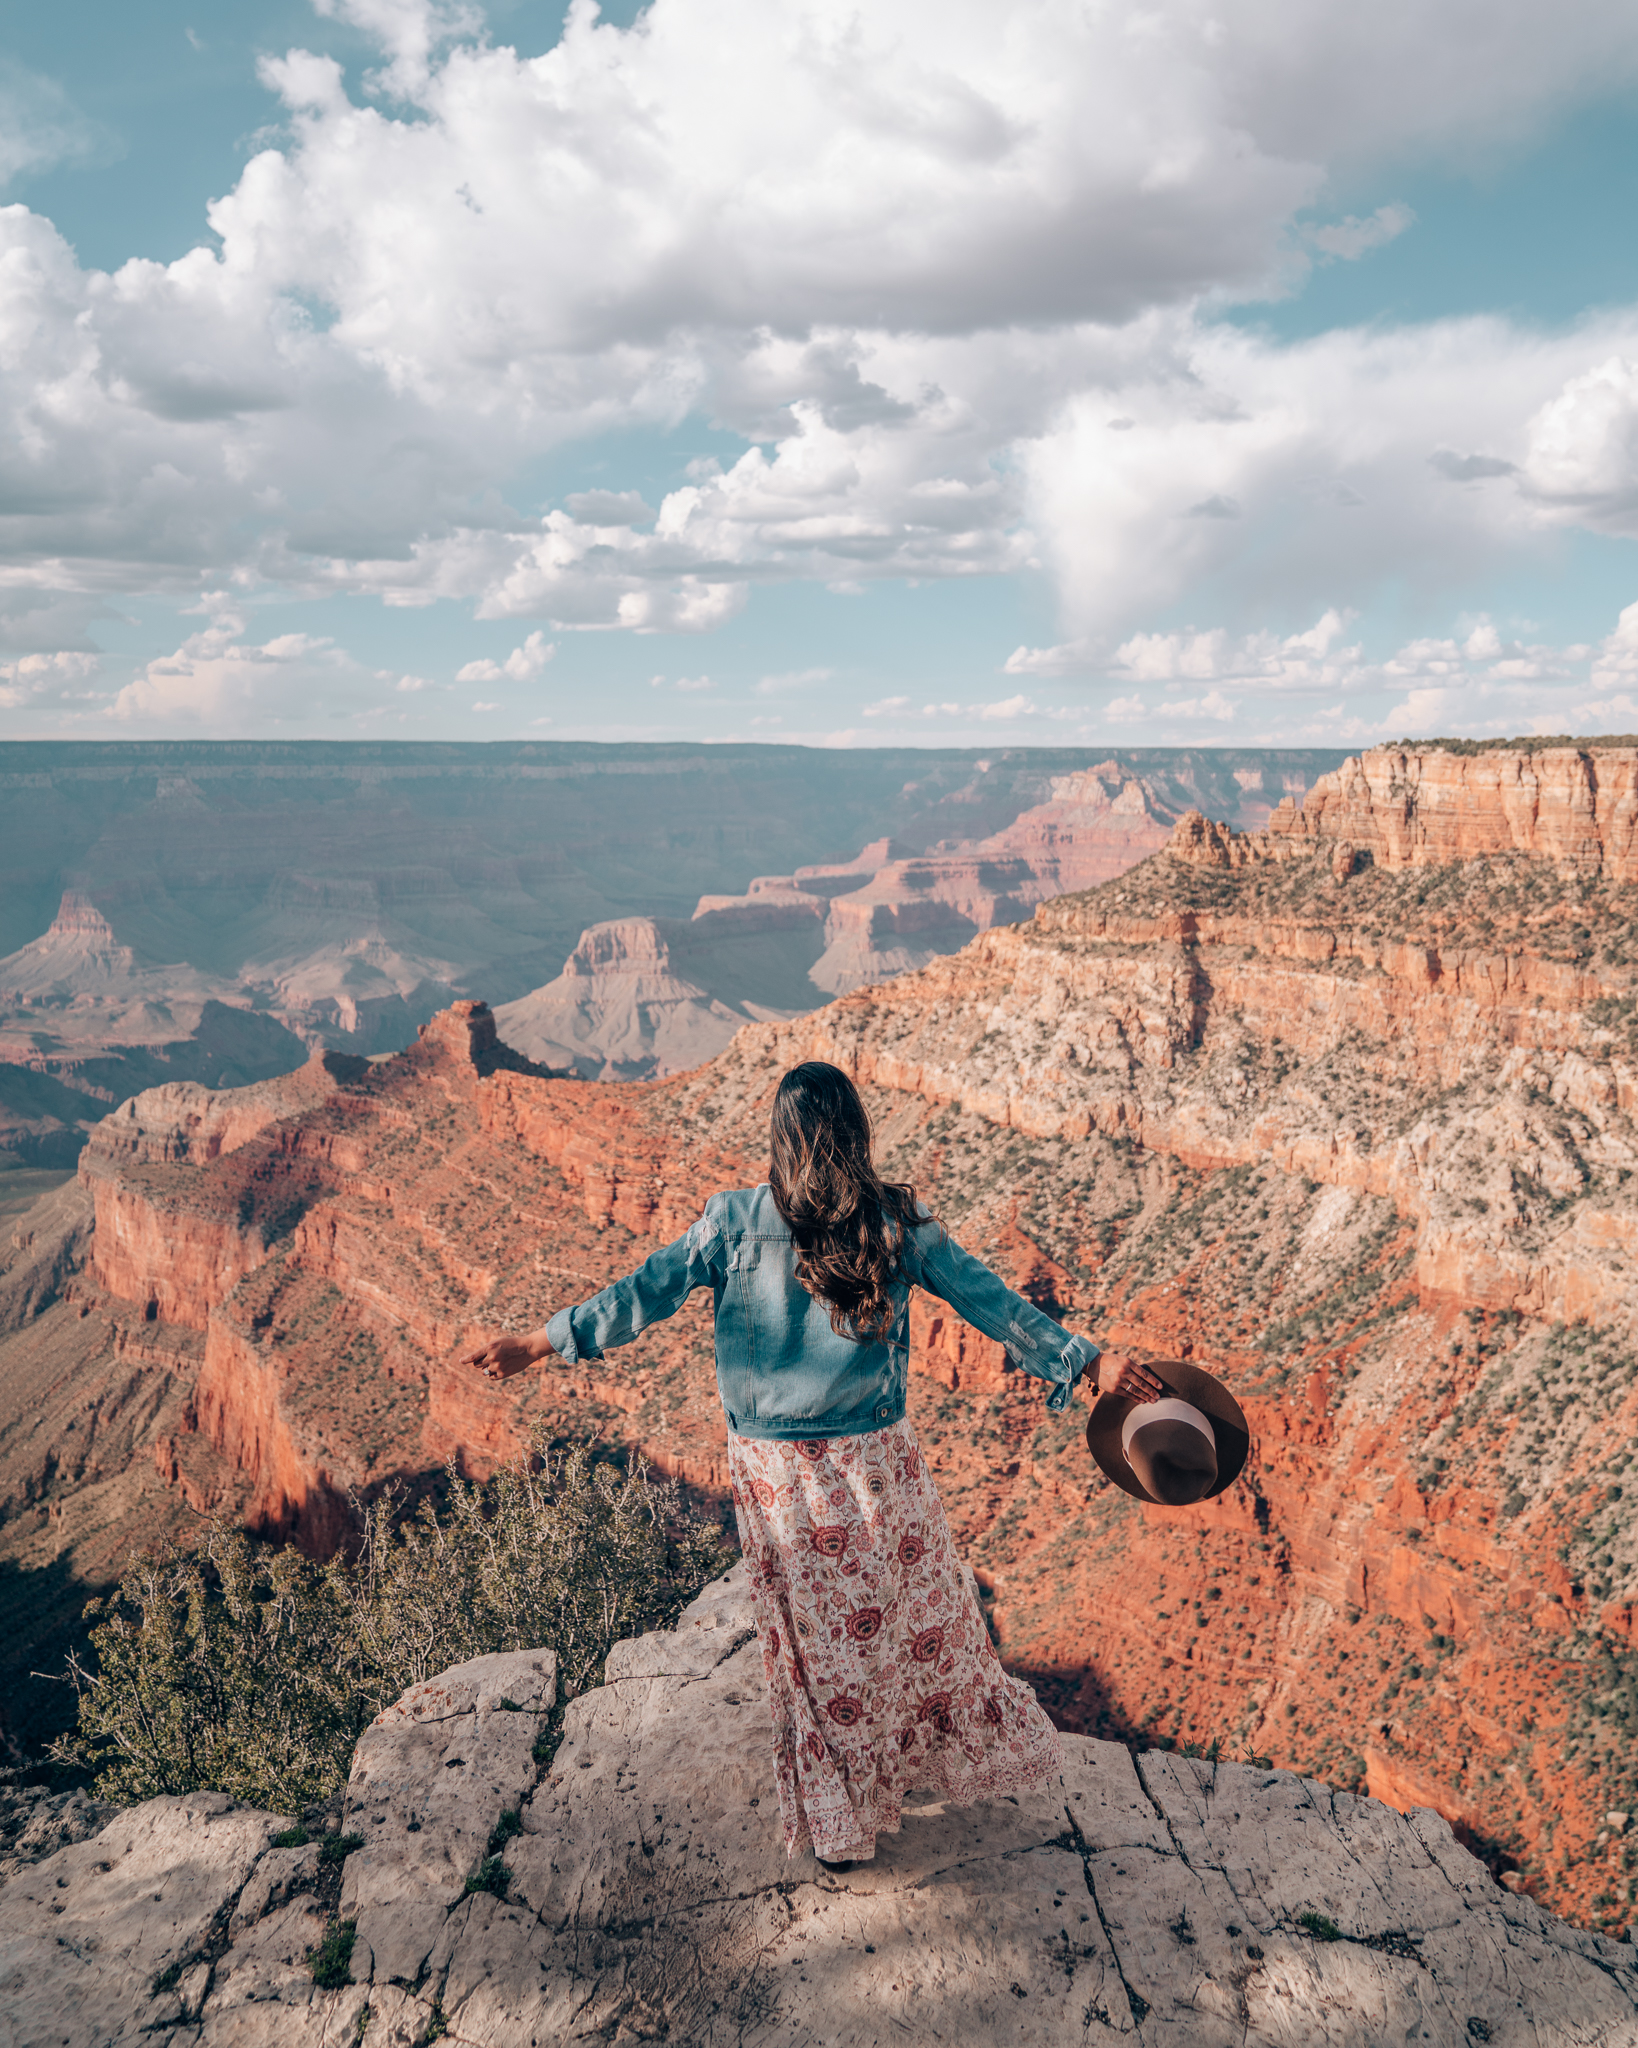
The Grand Canyon is a mile deep canyon and is truly one of those places that completely takes your breath away. There are endless lookout points to soak in millions of years of geological history, each one a little different than the next. I loved being able to spend an entire day stopping to marvel at the depth and beauty of the canyon.
Here’s a list of my favorite scenic South Rim Viewpoints:
Mather Point: The most popular viewpoint on the South Rim and also the most crowded
Yavapai Point: Stop here for panoramic views with fewer crowds than Mather Point
Yaki Point: Expansive, unobstructed views of the east side of the Grand Canyon and a glimpse of the Kaibab Trail
Powell Viewpoint: Sweeping views and a great photo op!
Hopi Viewpoint: With unobstructed views of the Grand Canyon, this is a popular viewpoint for sunrise and sunset
Mohave Viewpoint: This stop is very popular for sunsets, but because it has multiple individual viewpoints, it may feel less crowded than Hopi Point
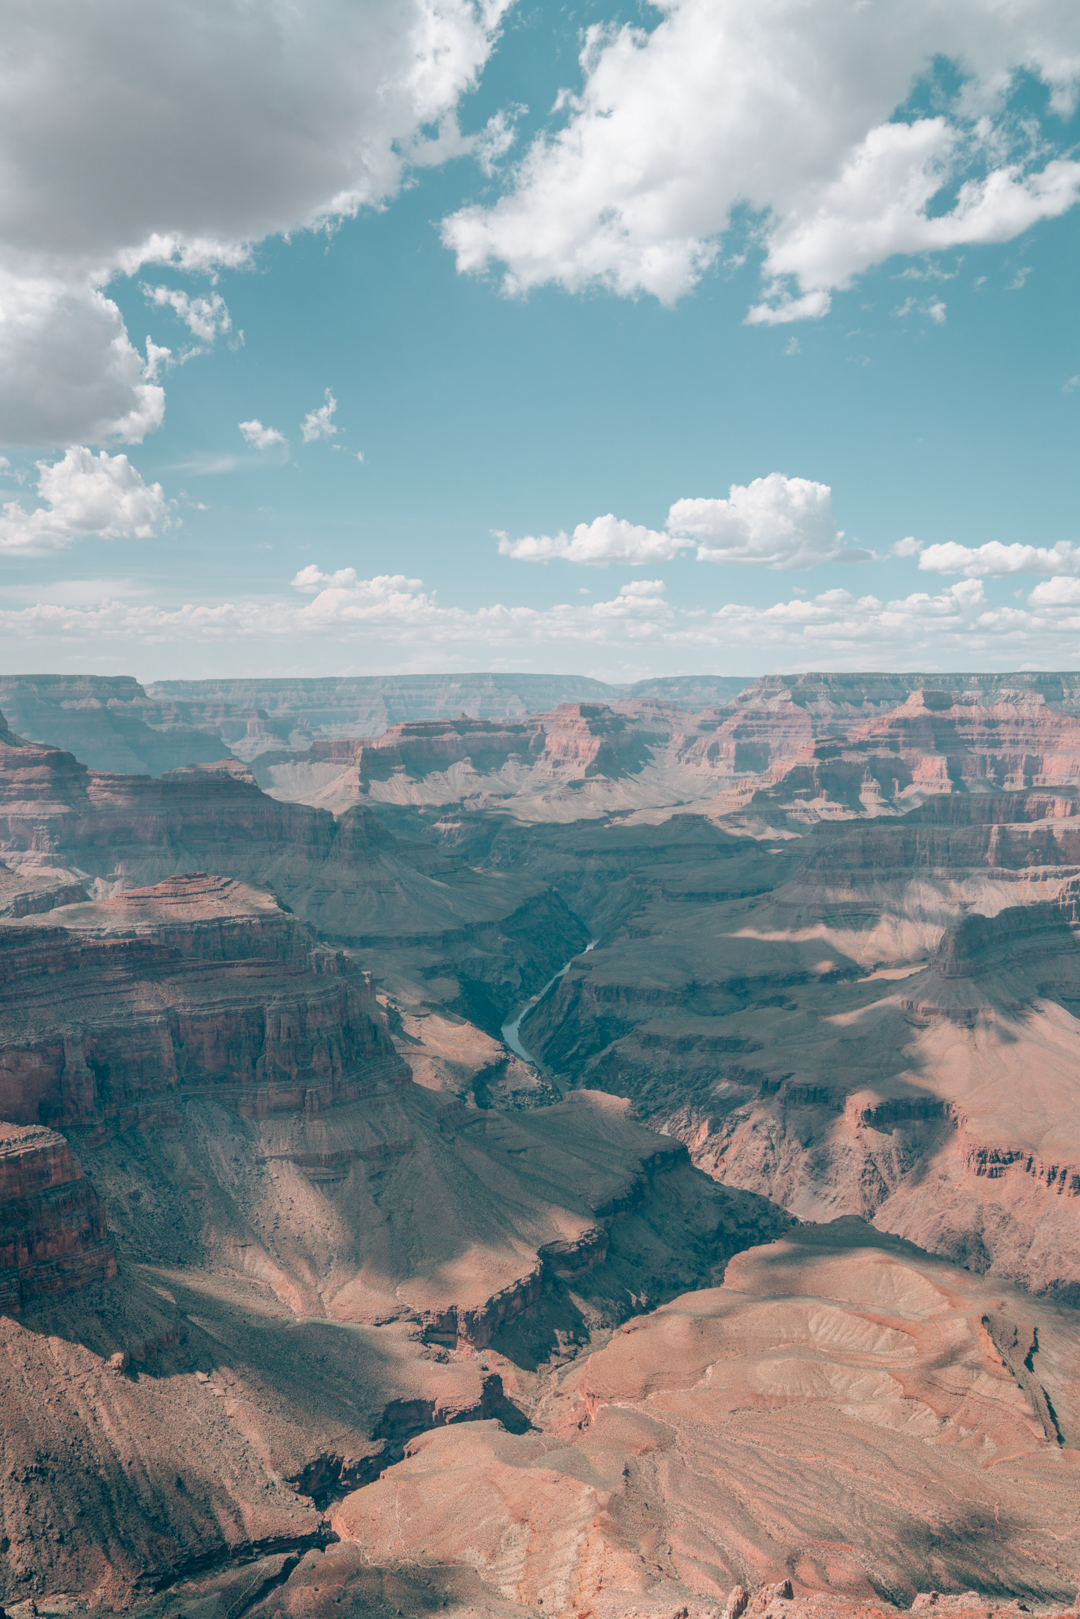
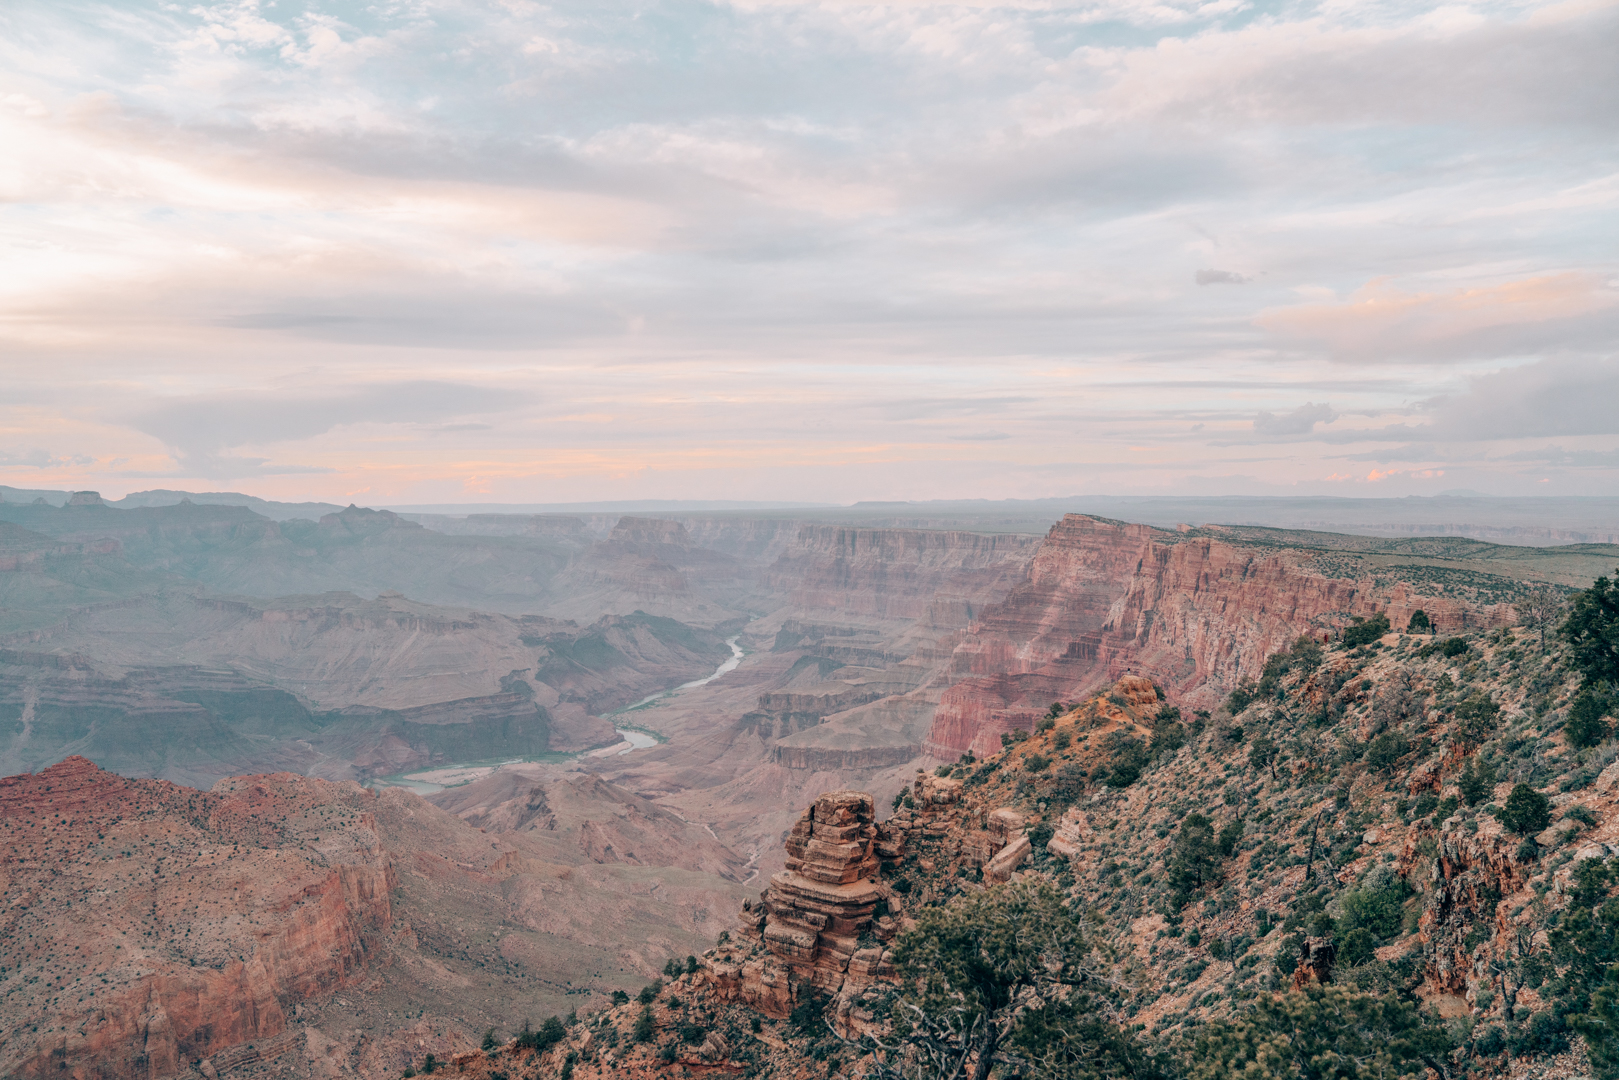
Pima Point: Stop here for sweeping views of the Grand Canyon and a clear view of the Colorado River!
Hermit’s Rest: The views here aren’t as good as the other viewpoints since trees block some of the view, but there is a little gift shop and cafe if you need to grab a quick bite
Grandview Point: Panoramic views of the Grand Canyon and the Colorado River
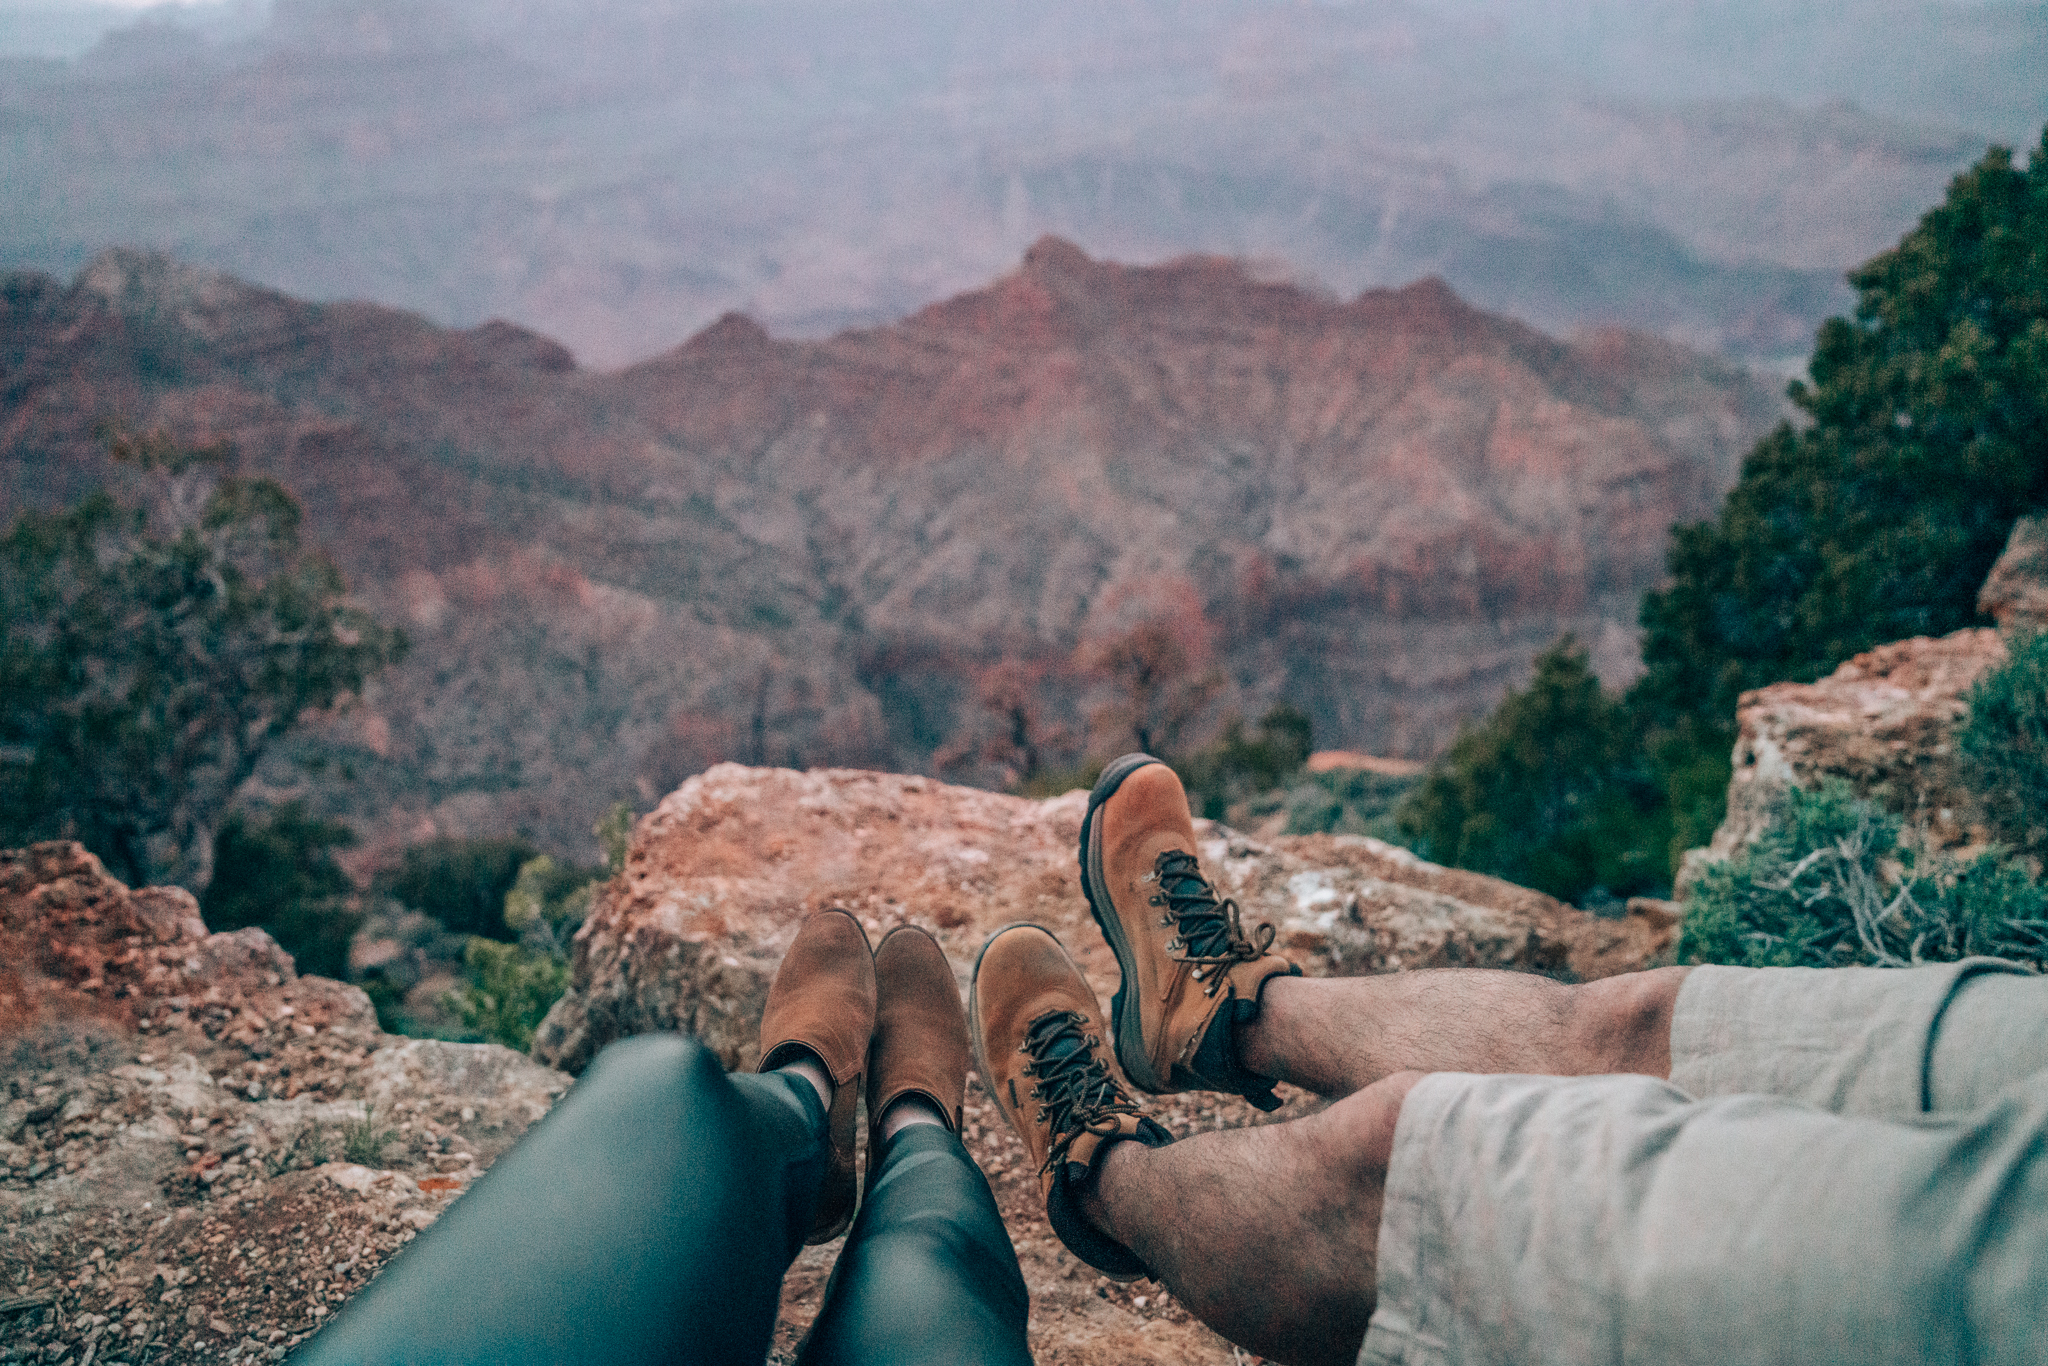
Desert Viewpoint: The final South Rim viewpoint — we made here for sunset and watched the colors dance across the sky! You can also climb the watchtower for 360-degree views
You don’t necessarily need to stop at all of these viewpoints, but you can certainly make it to all of them in a day if you would like!
Things to Know Before You Go:
Park Entrance Fee: $35 per private vehicle (the park pass is valid for 7 days)
The South Rim is open year-round — 24 hours a day, 365 days a year — and has dozens of viewpoints
The North Rim is only open May 15 to October 15, is harder to get to and is more secluded
Even though the direct distance across the canyon is only 10 miles, it takes 5 hours to drive the 215 miles between the park's South Rim Village and the North Rim Village
There are a few cafes and restrooms located inside the park. Use the park maps to plan ahead
I highly recommend checking the National Parks website prior to any visit. It will always stay updated regarding any closures, alerts, events, etc.
After catching sunset at the Grand Canyon, we drove 2 hours to our Airbnb in Page, AZ for the night. Since we planned for an early morning the next day, we opted to stay in for dinner and had a fun wine, pizza and game night!
Where to Stay: Airbnb or Hotel in Page, AZ (we stayed at this Airbnb)
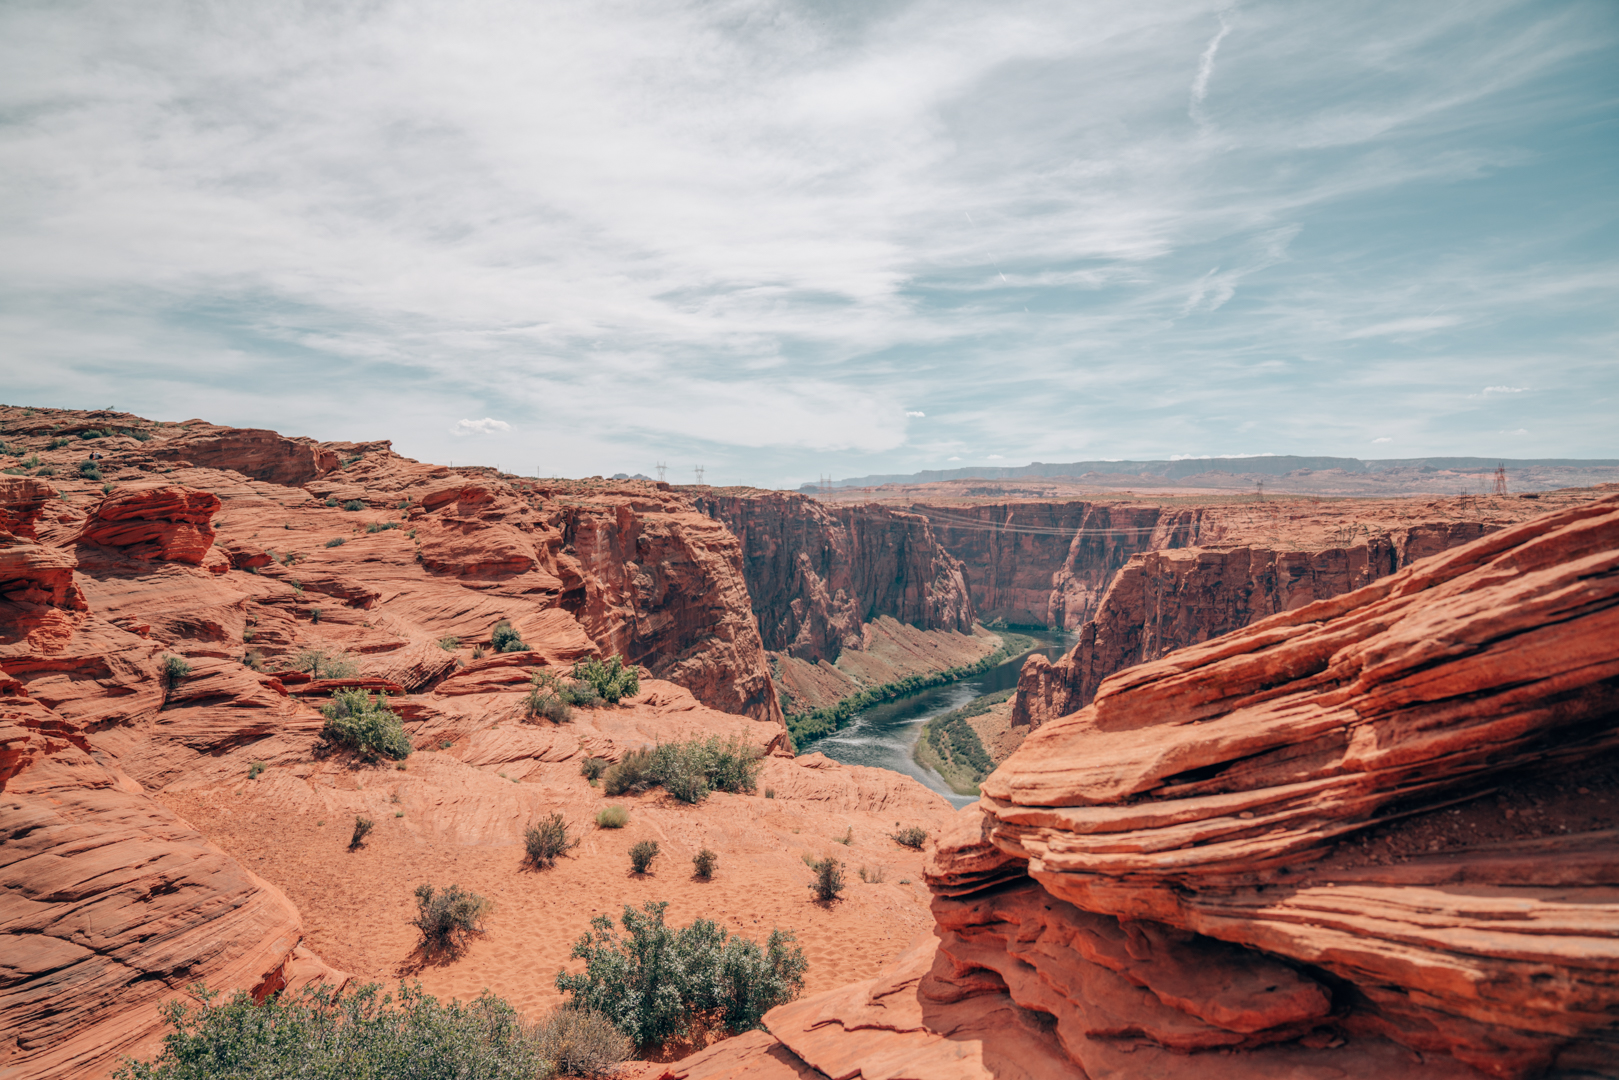
Scenic views of the Colorado River at the Grand Canyon
Sunset at Desert View in Grand Canyon National Park
Sunday: Horseshoe Bend, Antelope Canyon & Glen Canyon
Horseshoe Bend
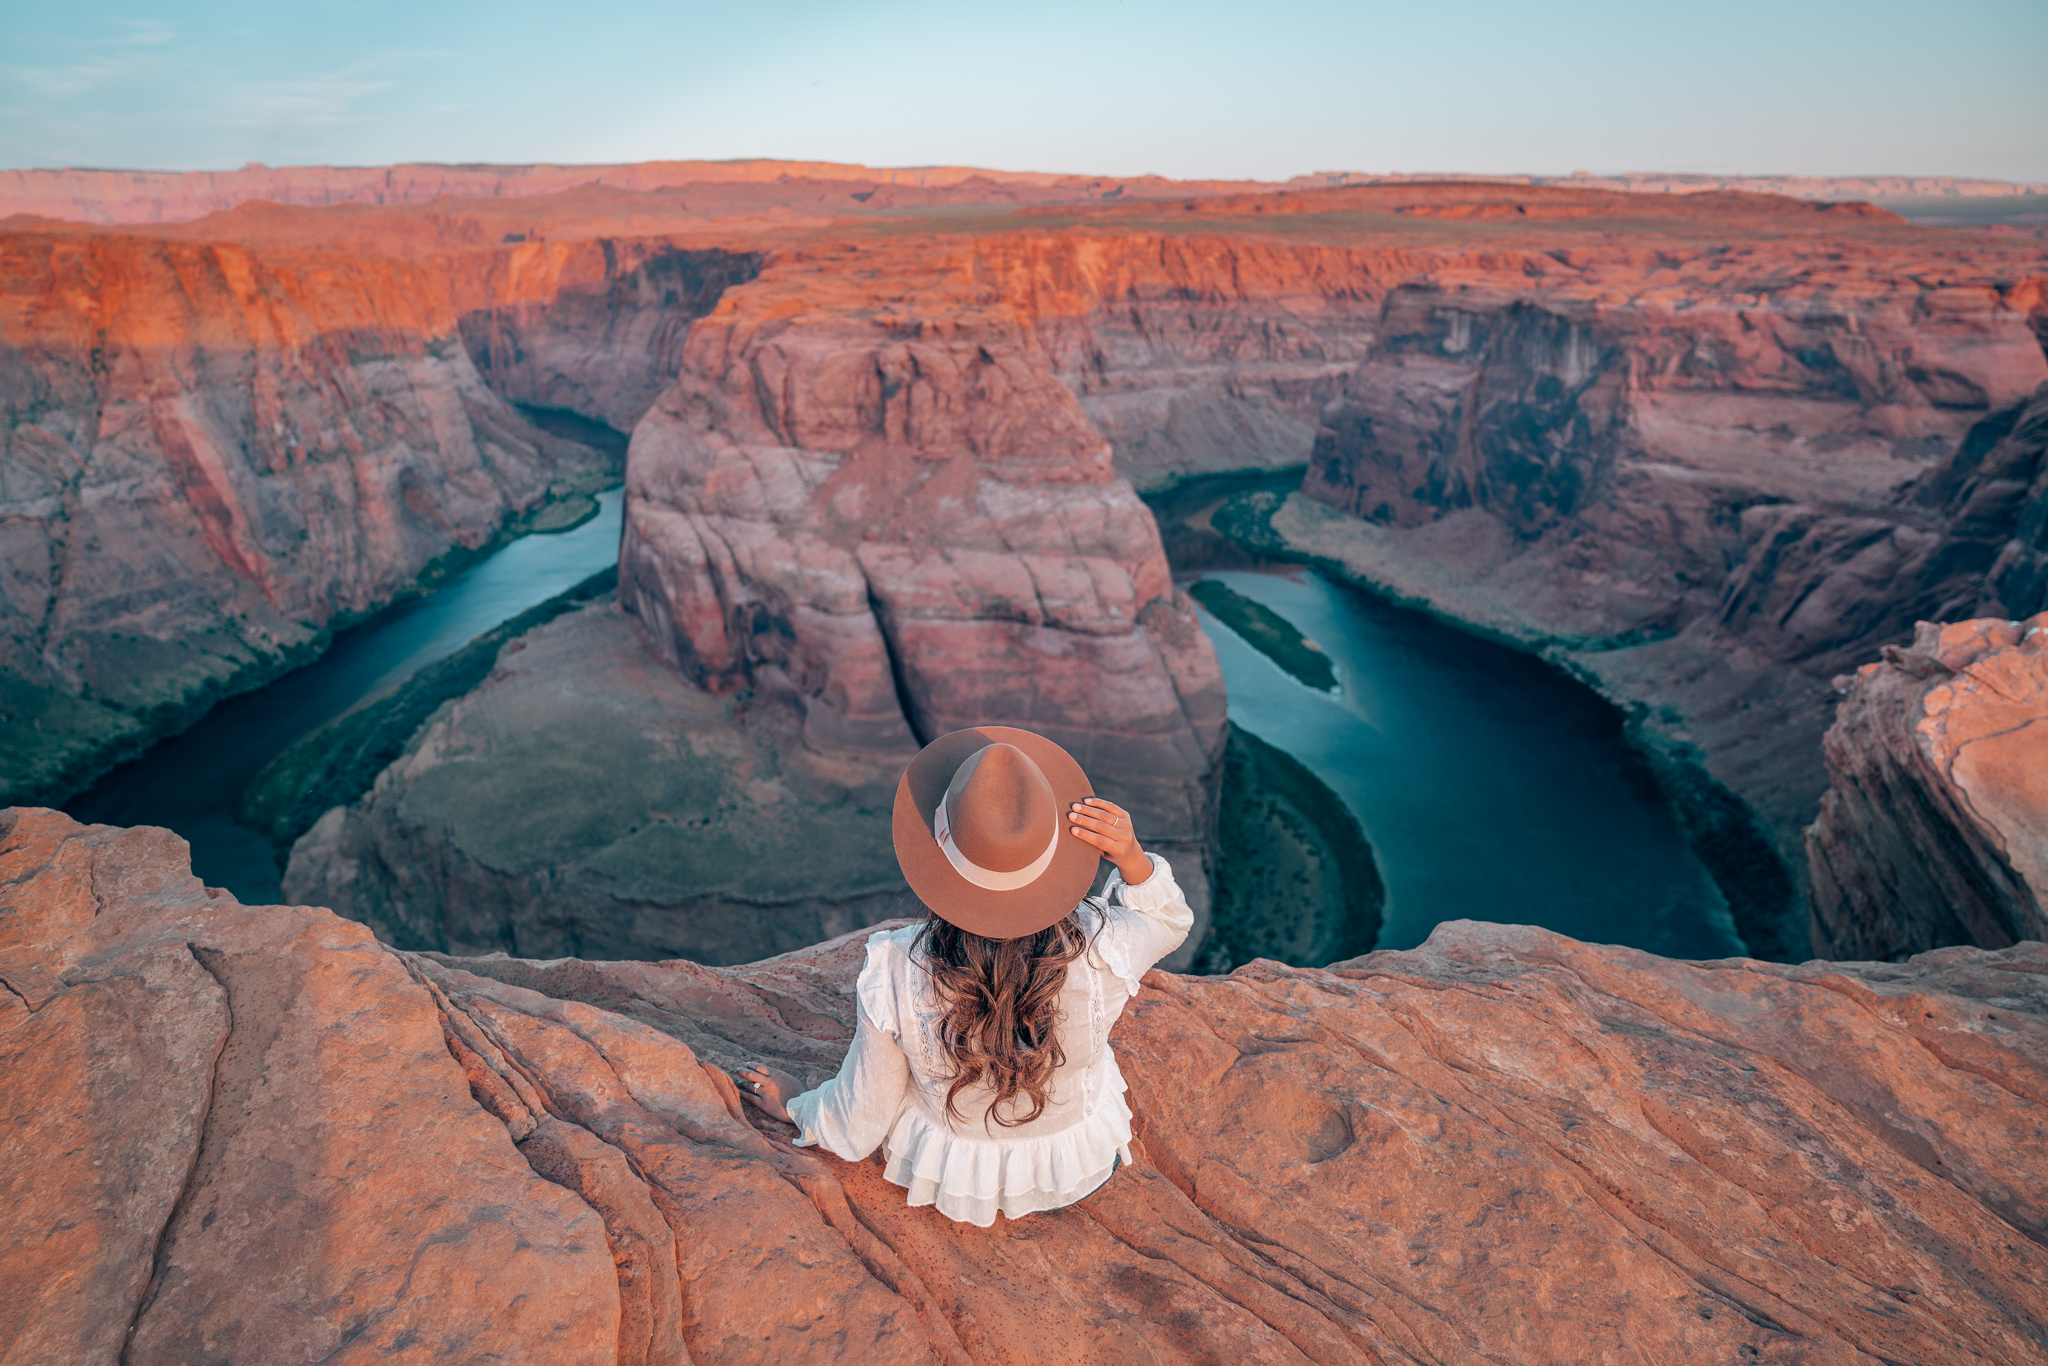
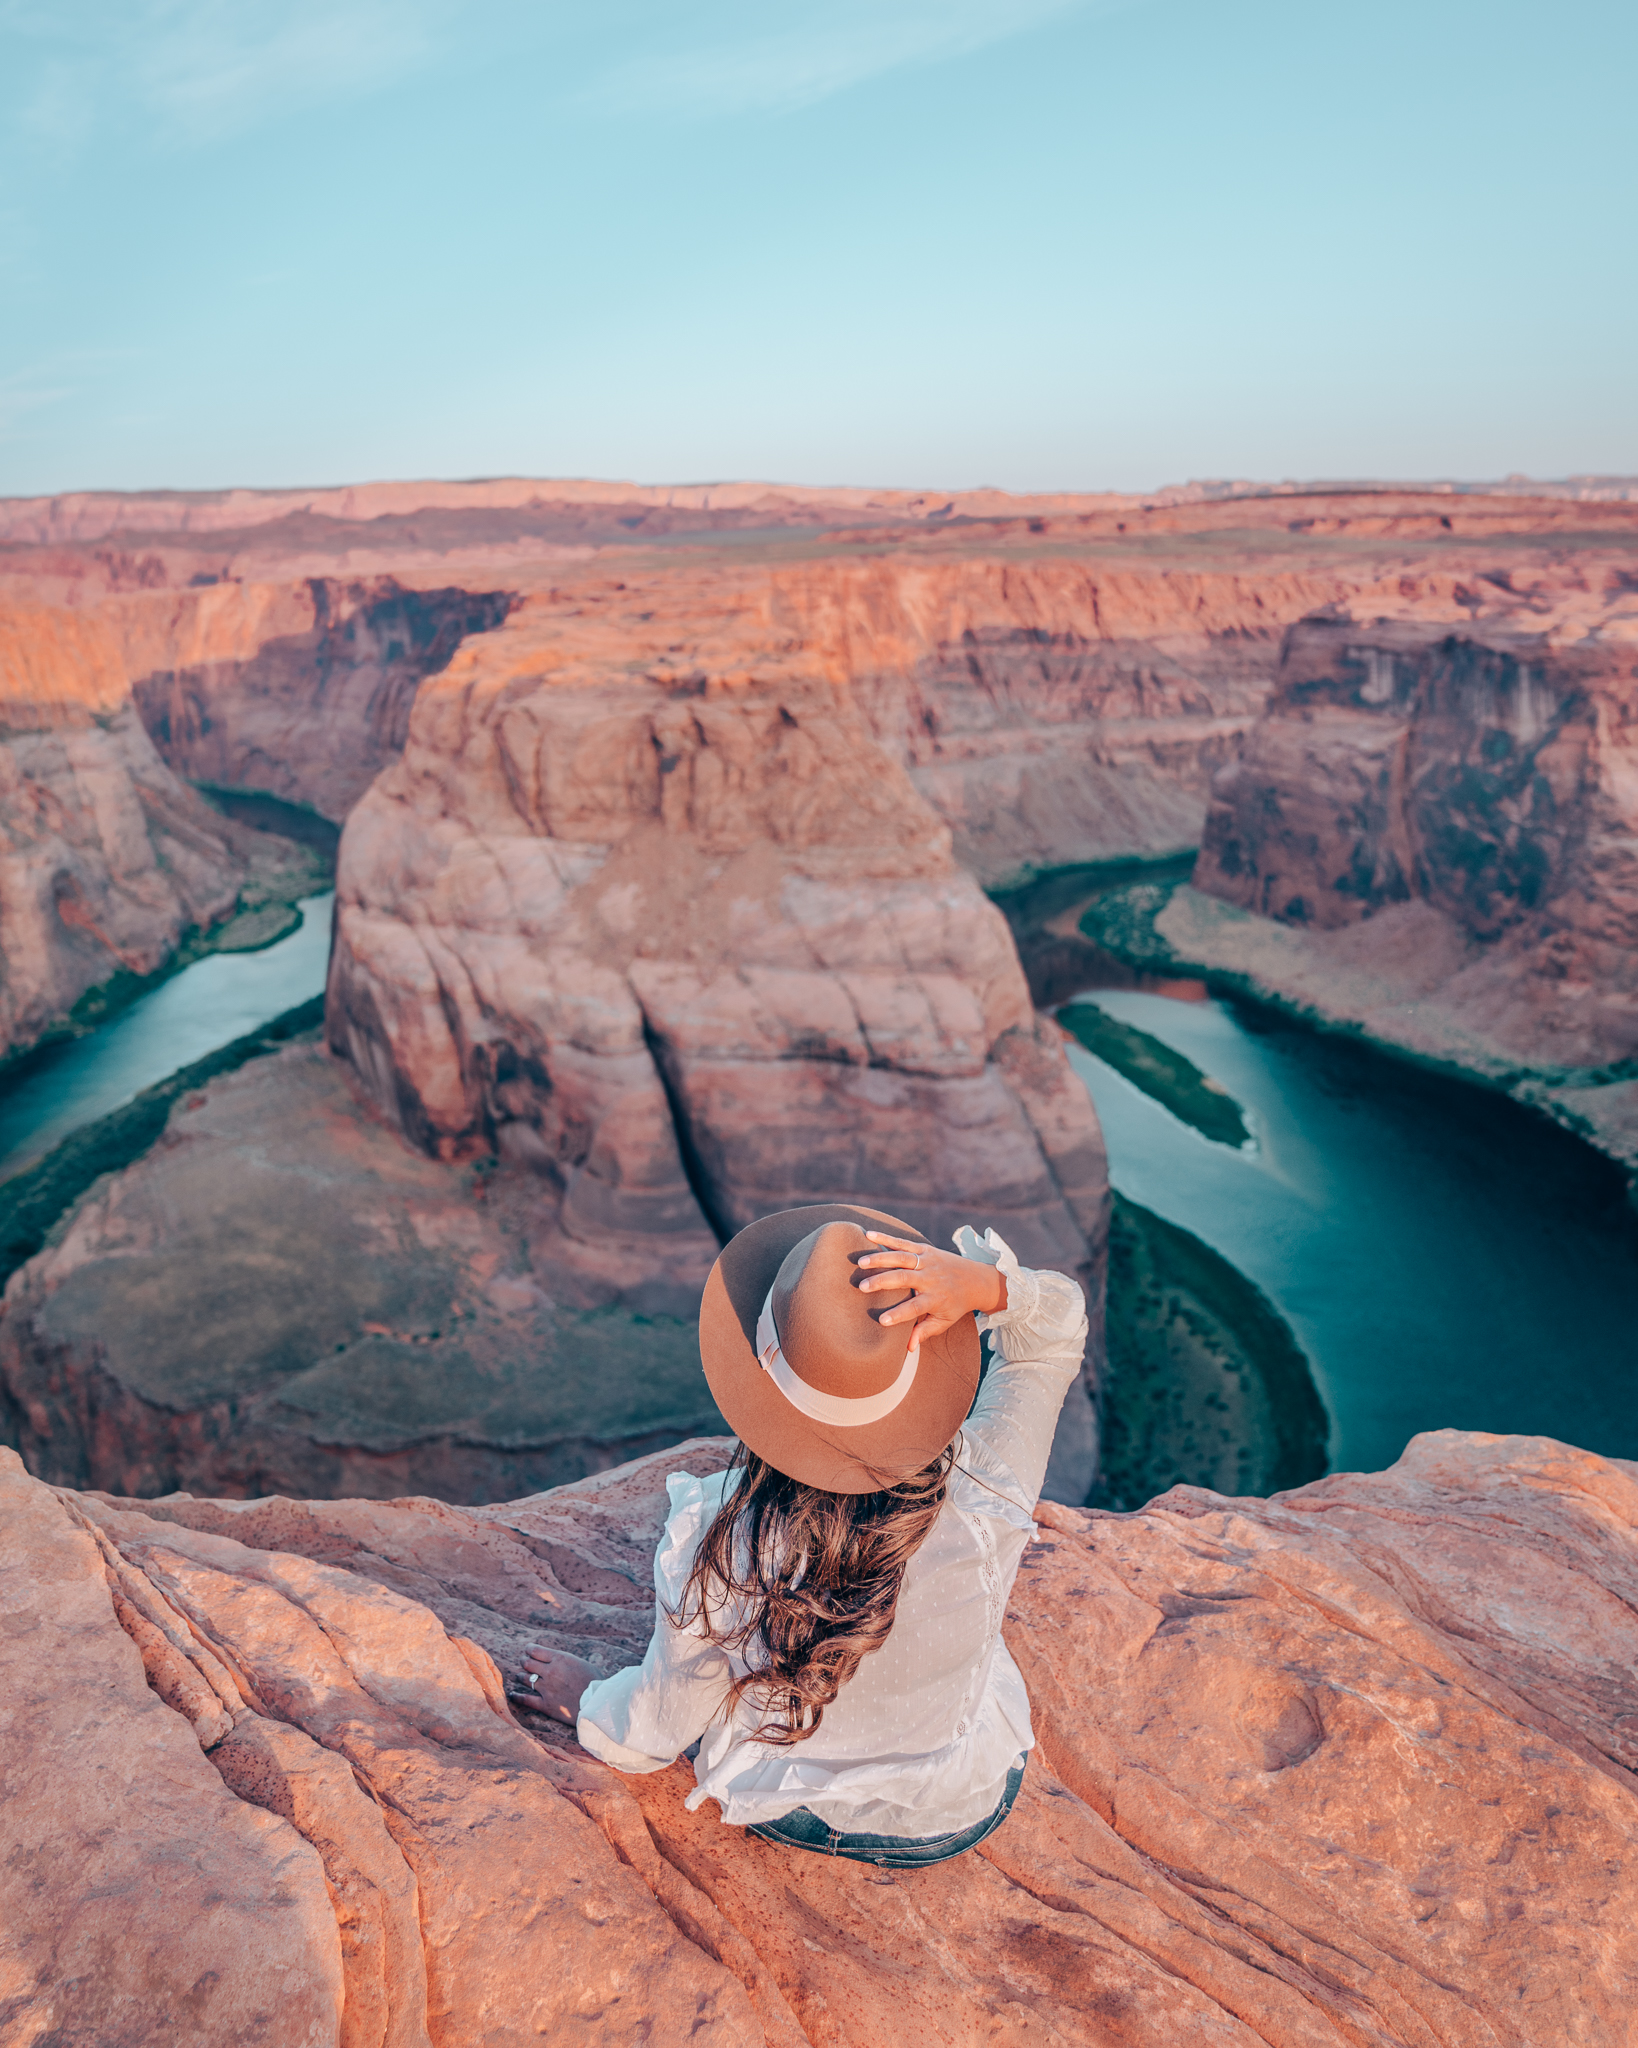
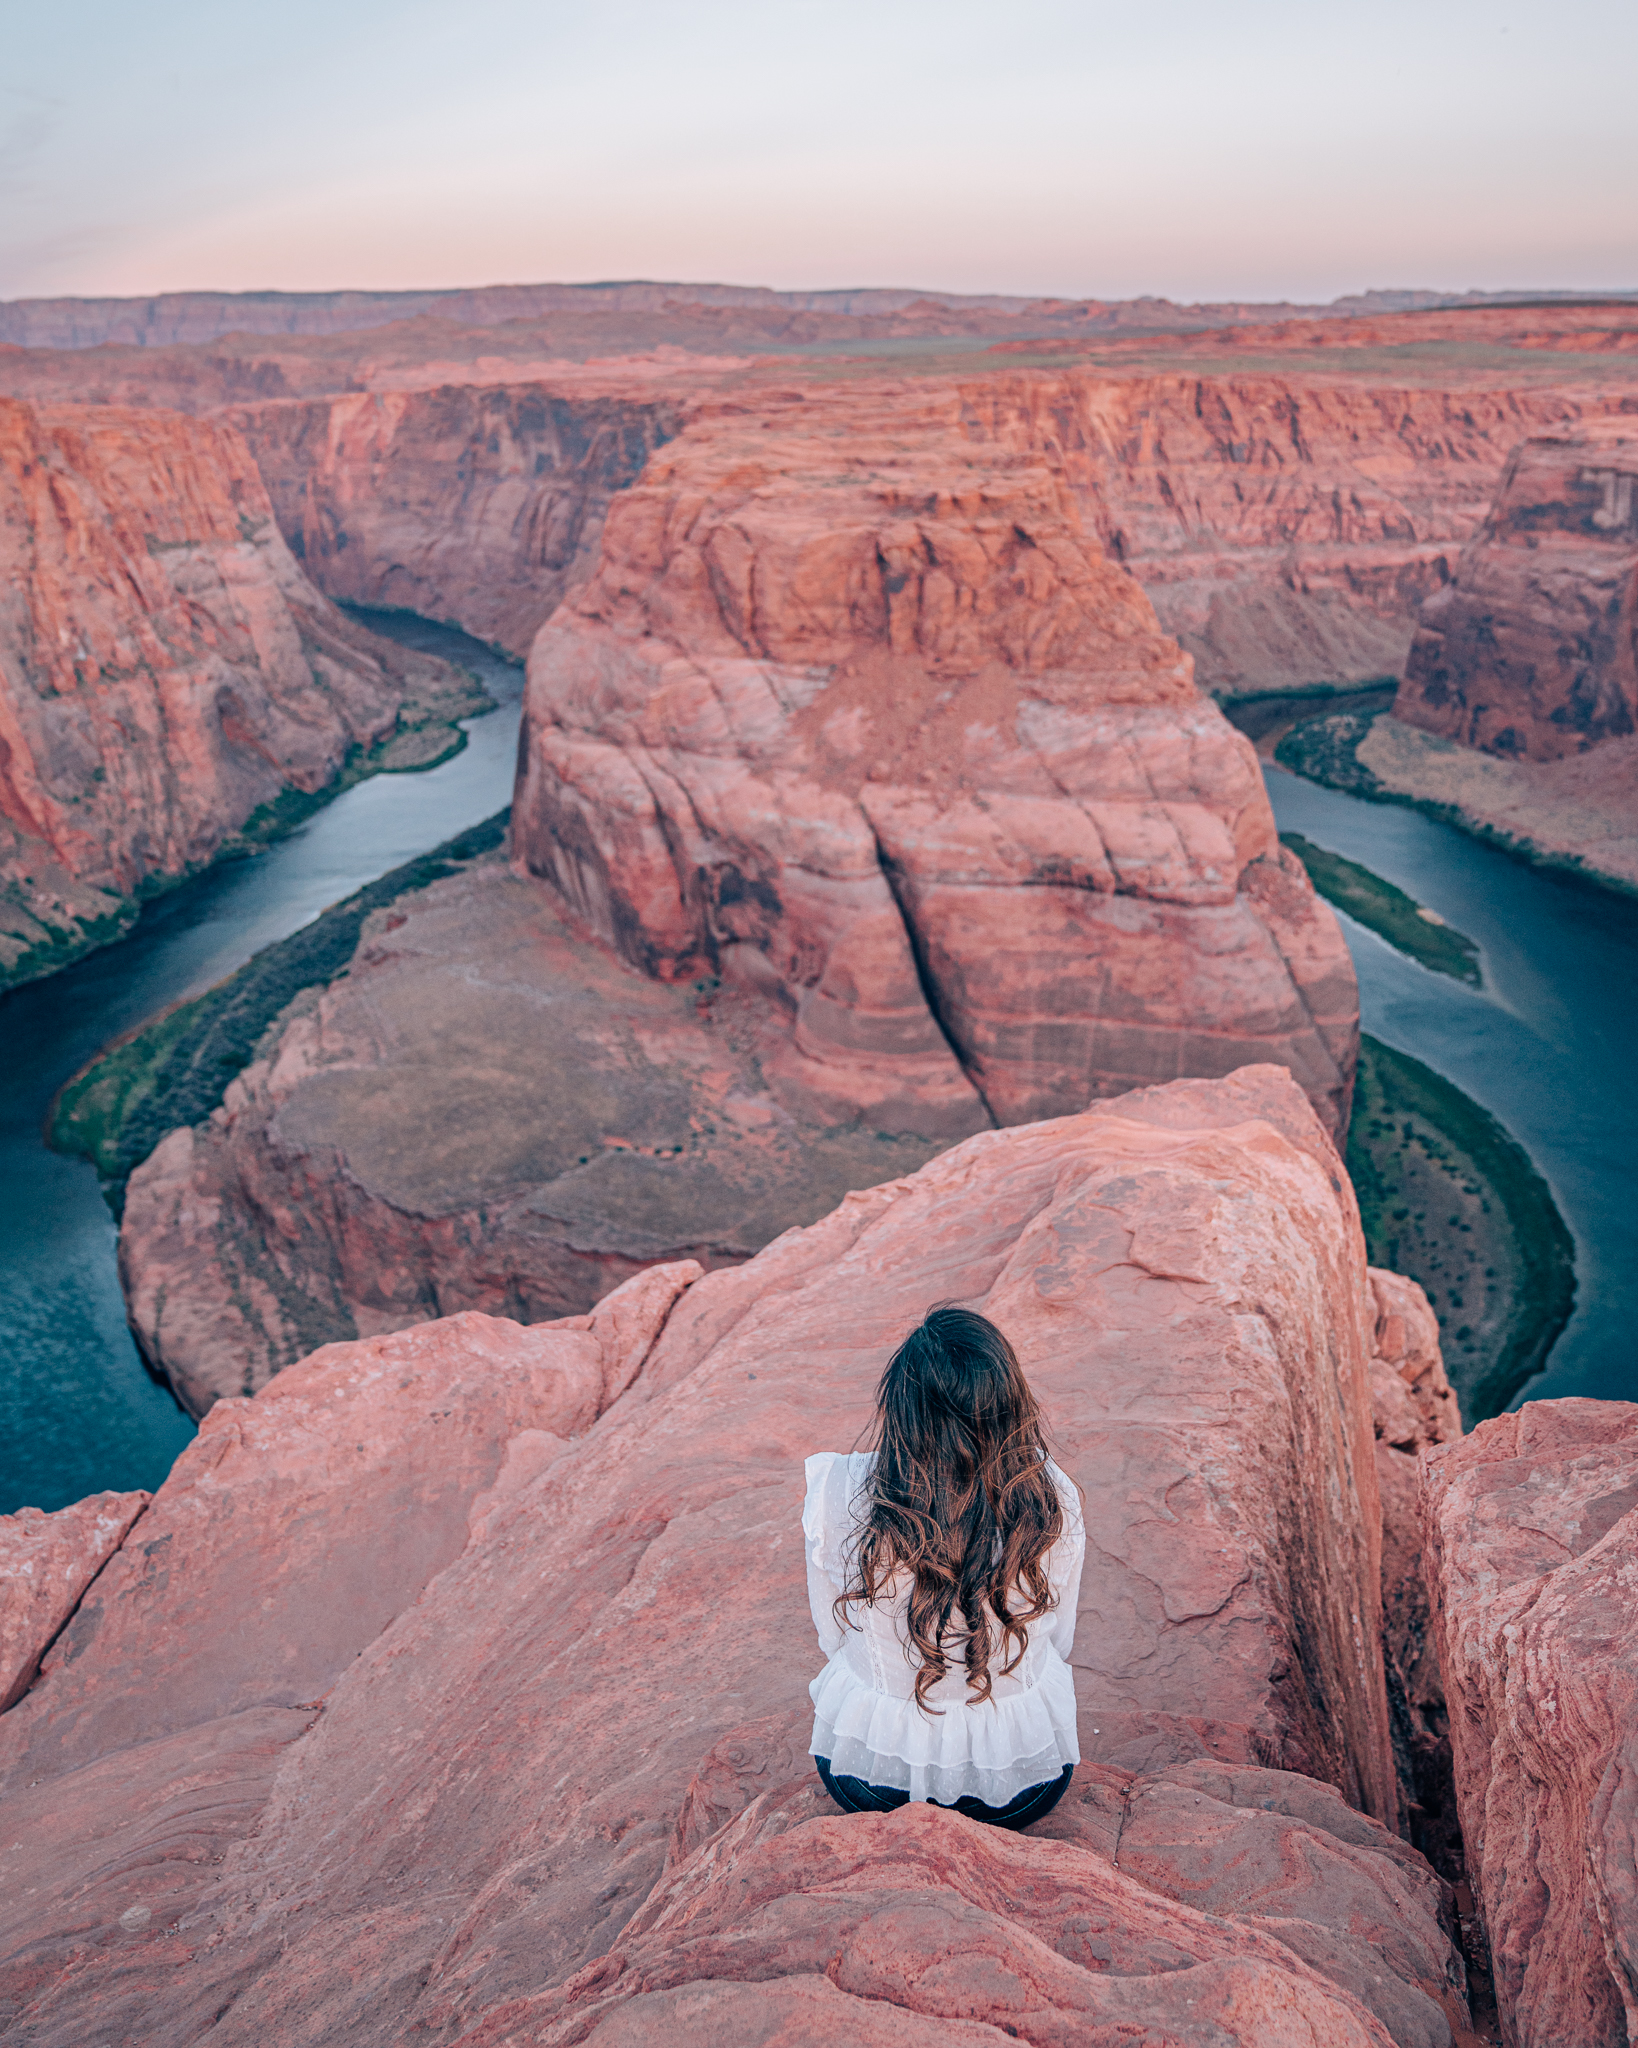
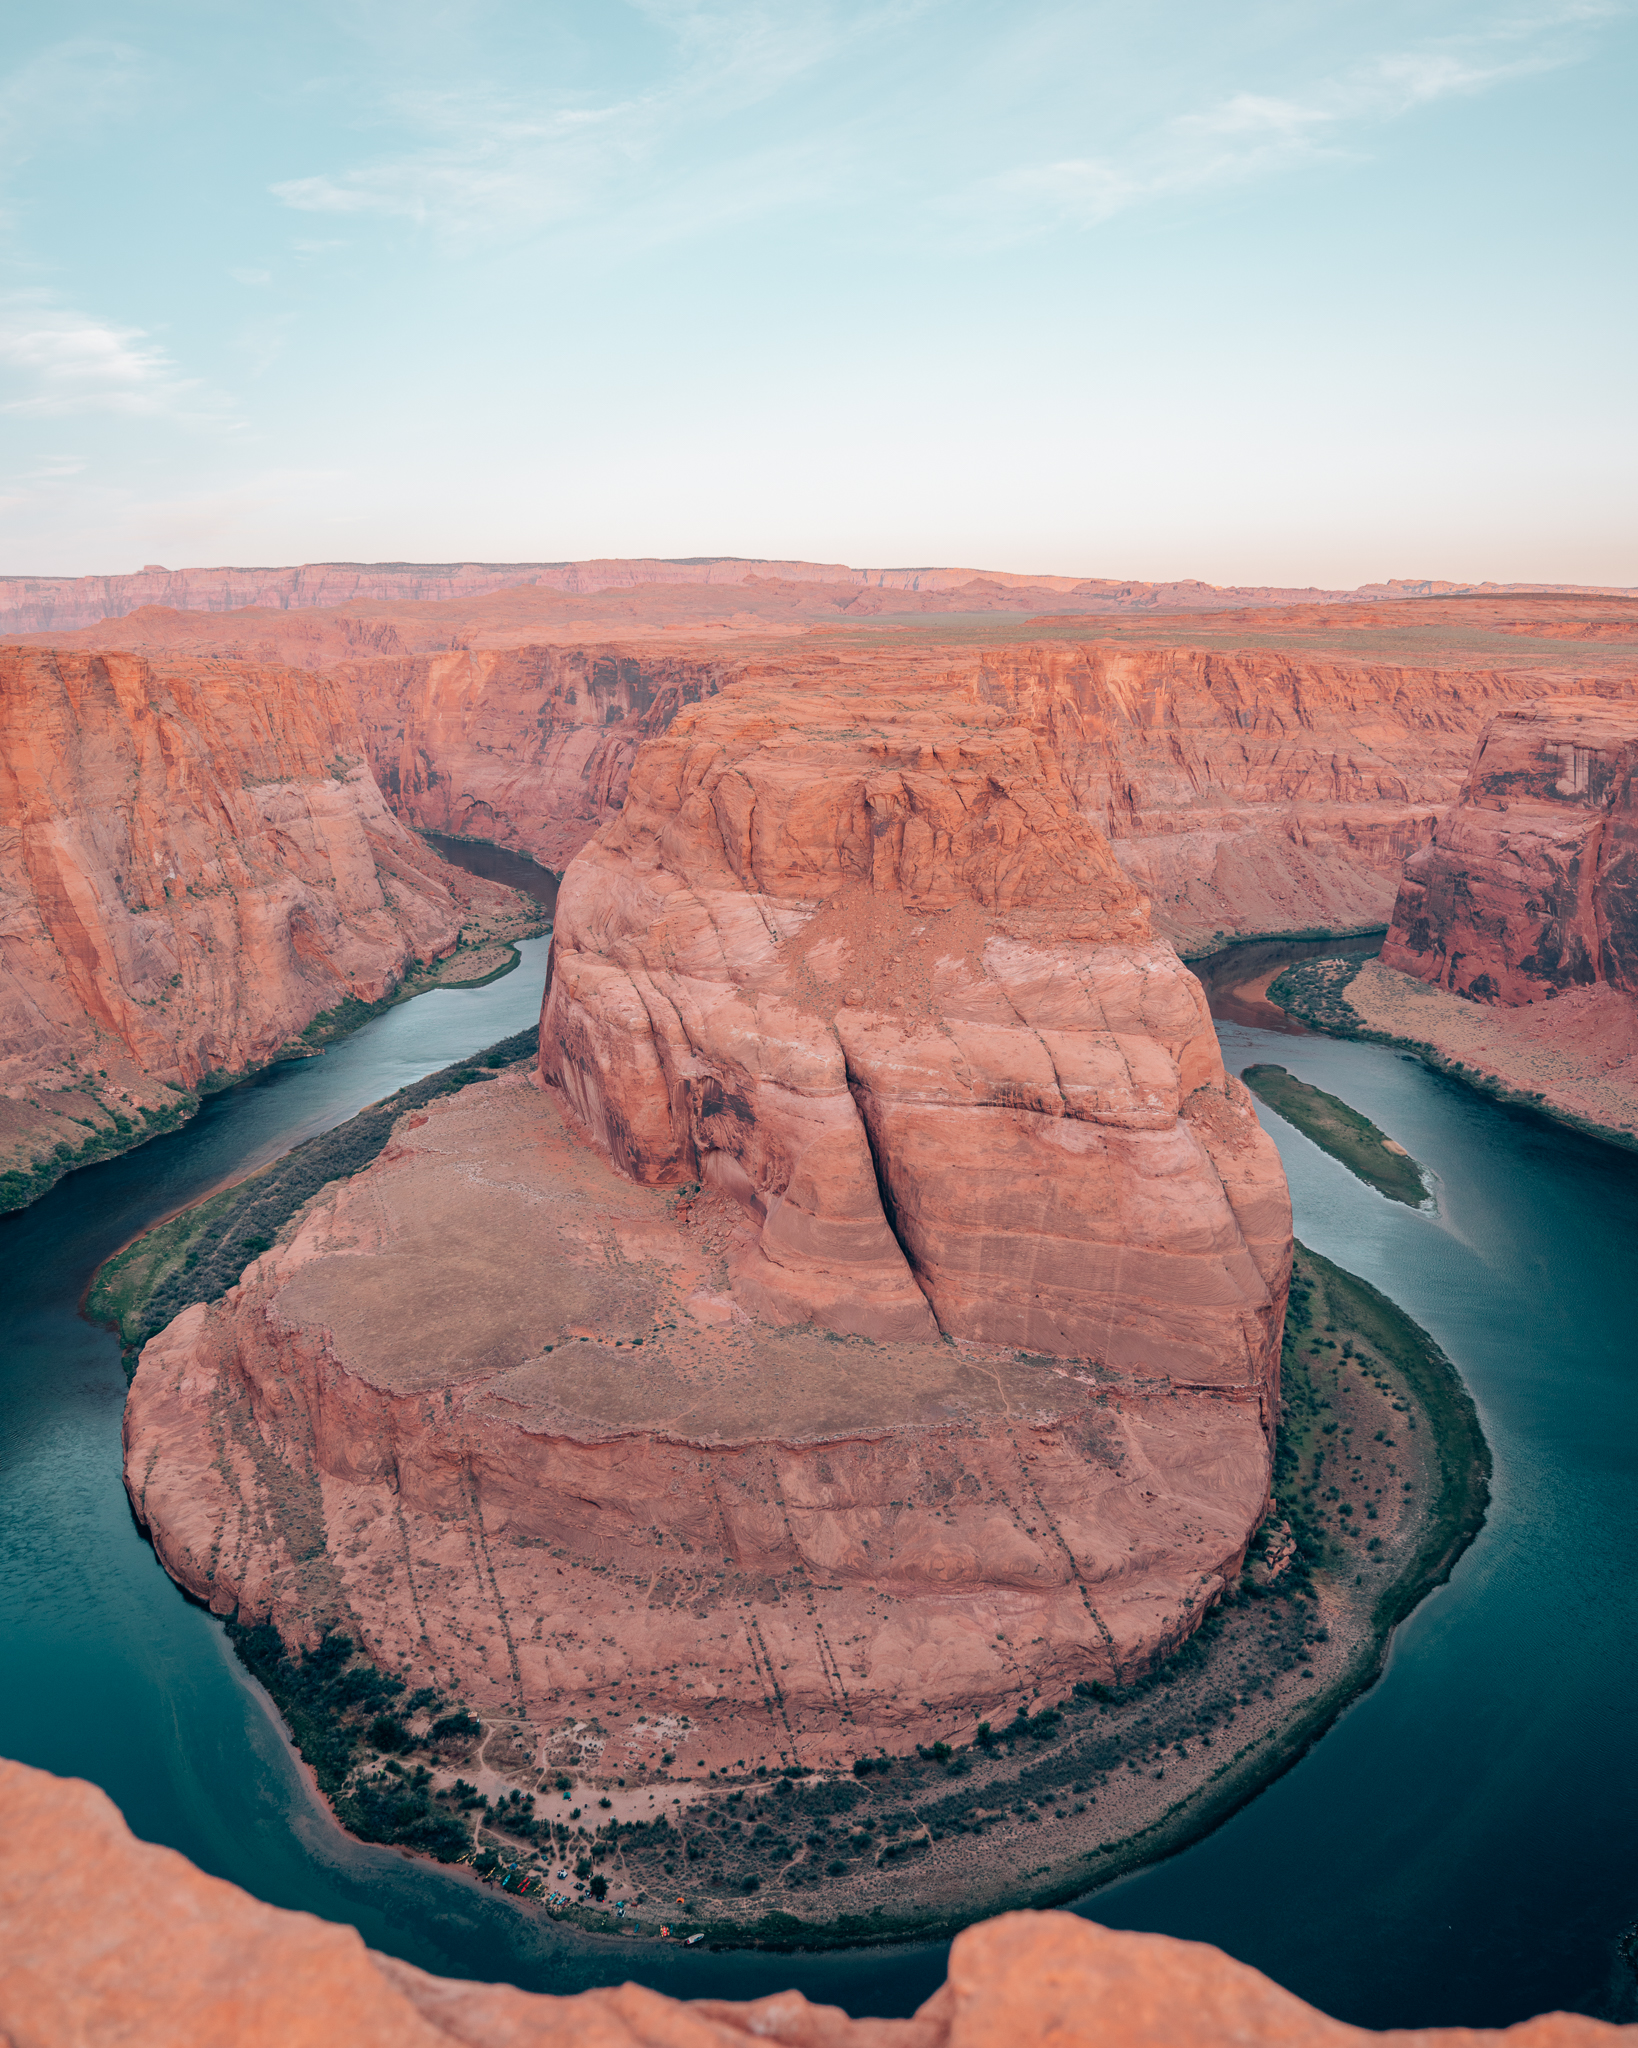
Kick off your day with an unreal sunrise over Horseshoe Bend and thank me later.
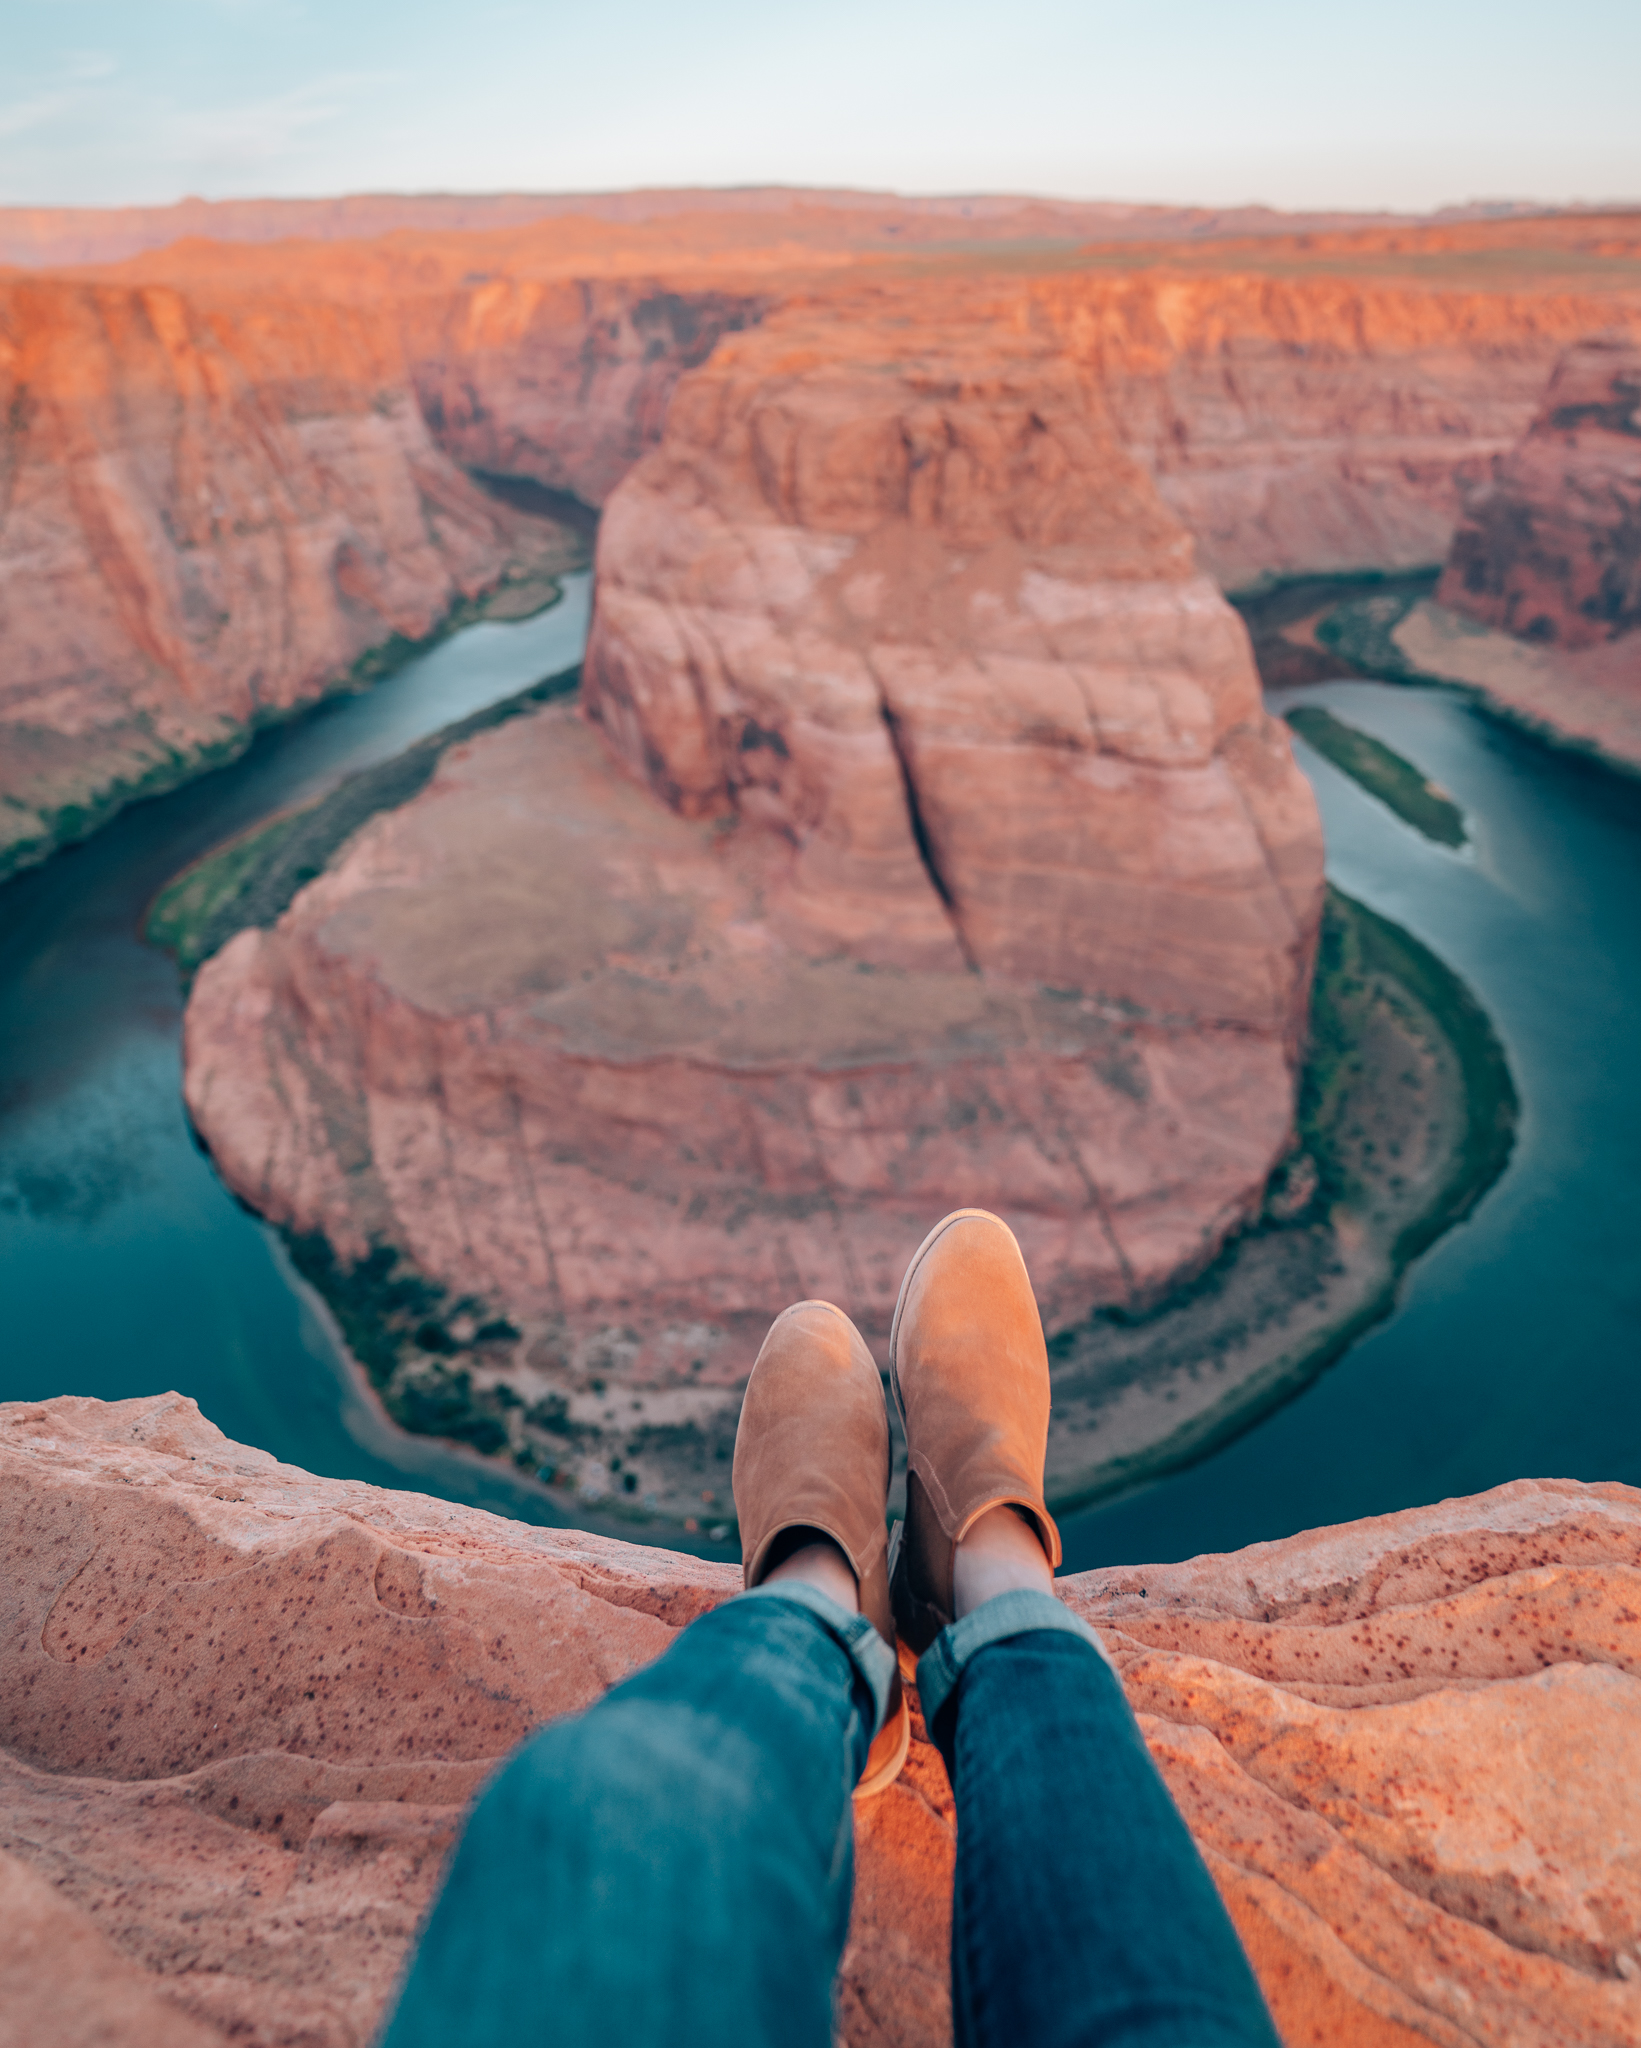
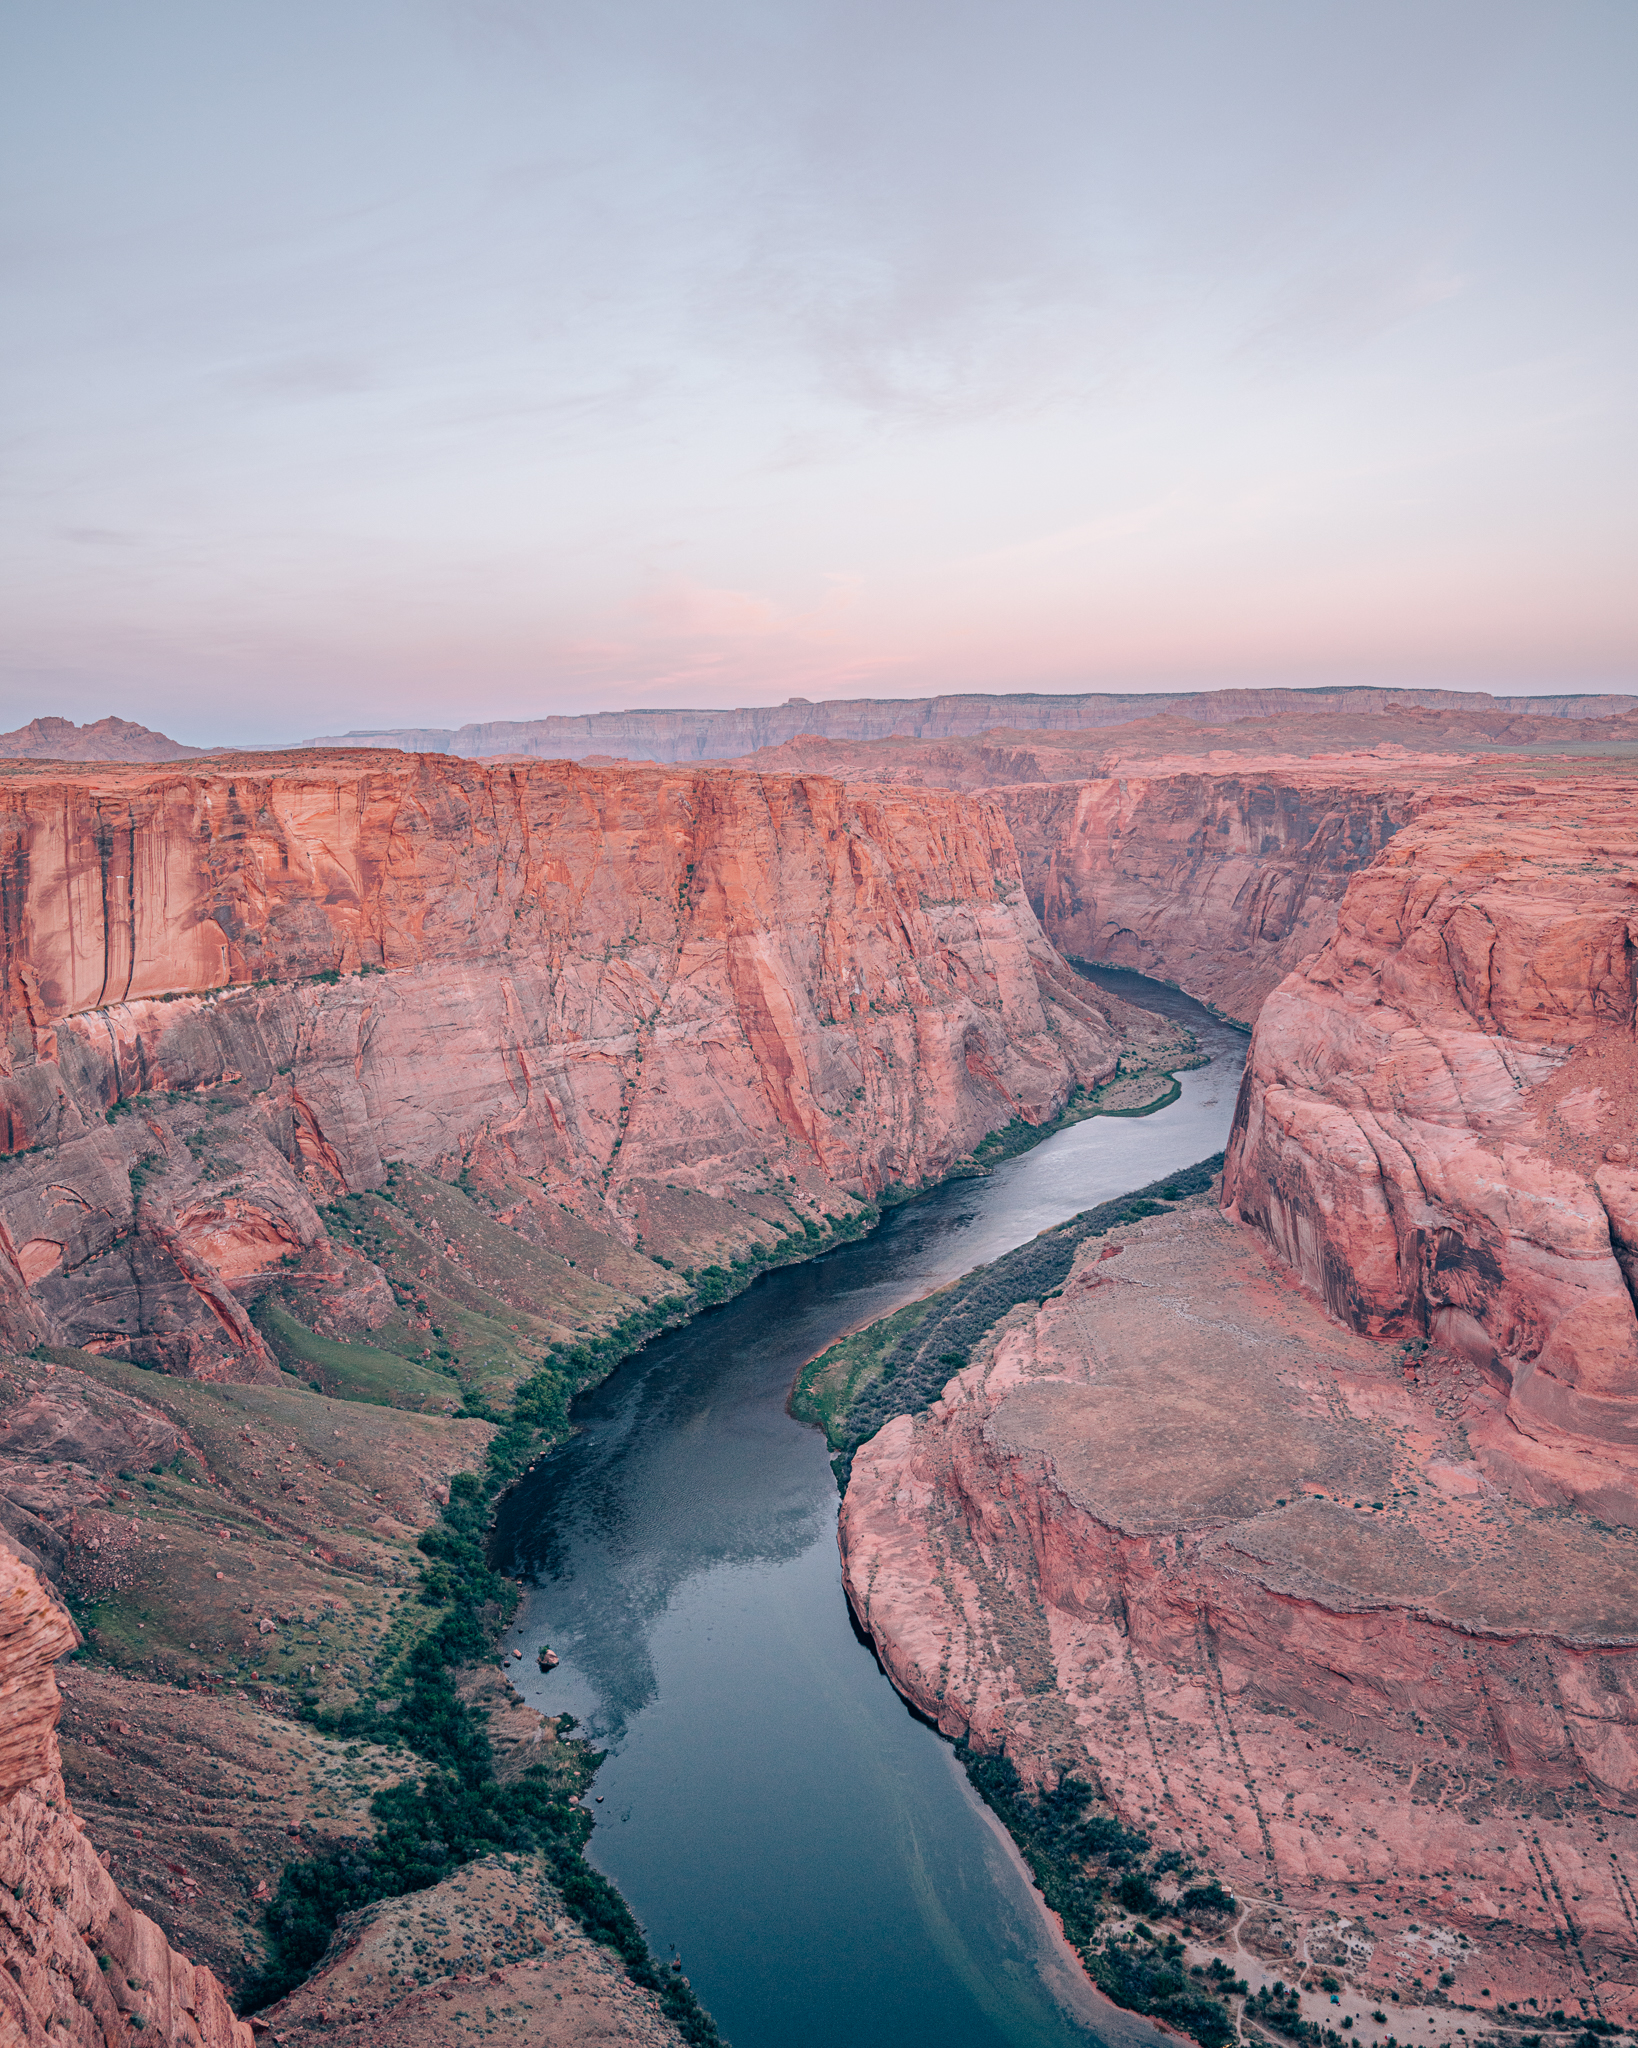
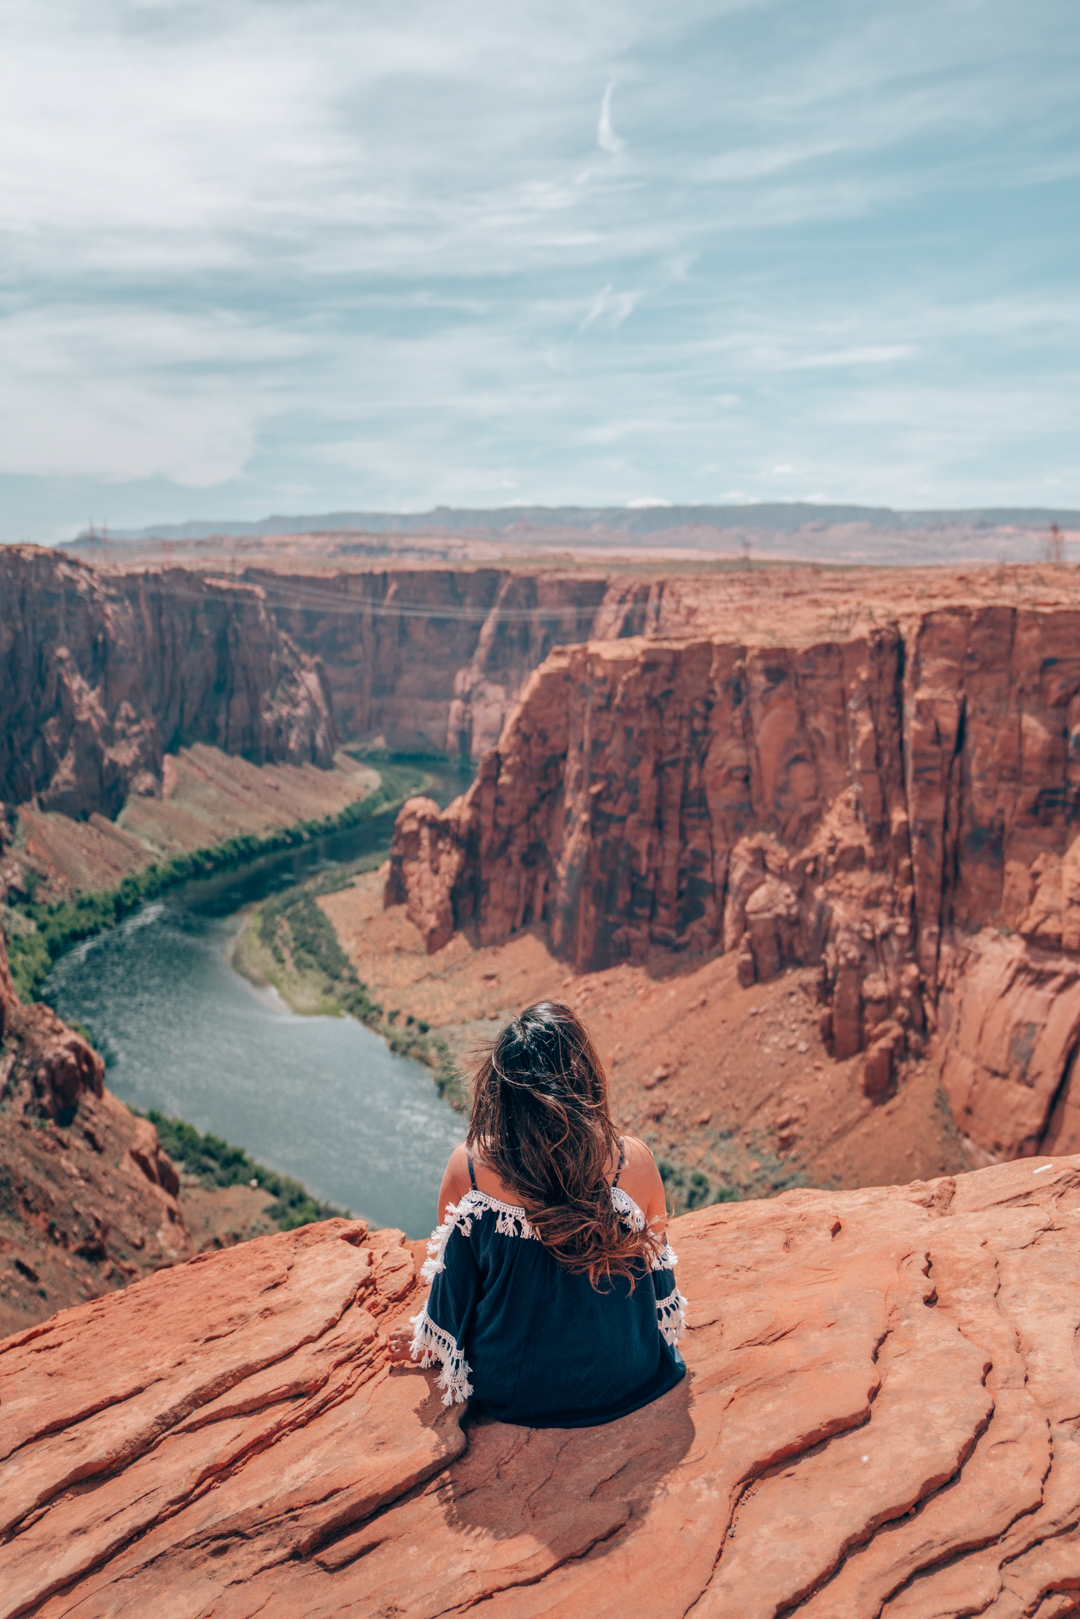
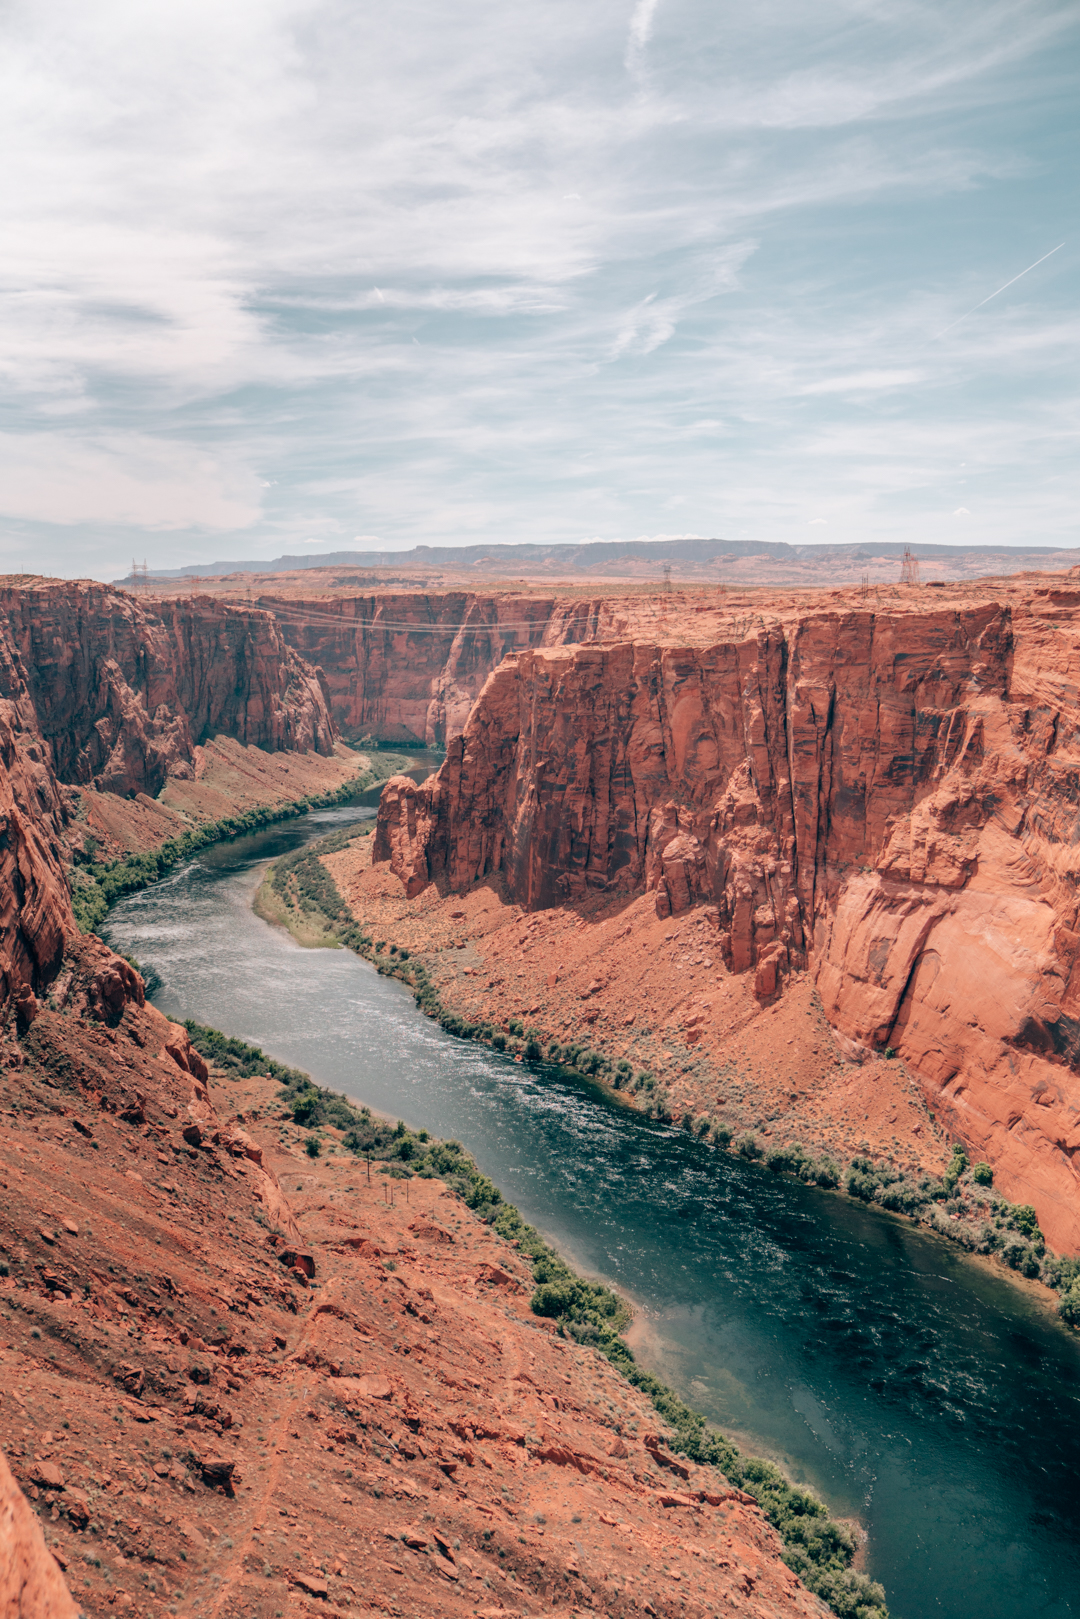
You must have seen at least a hundred photos of this iconic spot on Instagram, where the Colorado River bends around the natural landscape creating a perfect horseshoe and dramatic views. The scale and beauty of this place is magnificent. It has become one of the most photographed places in the world, so of course I always dreamed of visiting someday and photographing it myself.
I did a ton of research to find out (1) when to get the best photos, (2) how to avoid crowds, and (3) whether sunrise or sunset was more epic. There were so many opinions all over the internet, but let me tell you: I have zero regrets about sunrise here and I’d wake up to do it a thousand times over.
When to Get the Best Photos? Either right before sunrise, midday when the sun is right above you, or just after sunset — these are the most ideal times, because you won’t have to fight the harsh shadows that will creep over the river and bend in your photos at other times throughout the day.
How to Avoid the Crowds? Due to its popularity, gone are the days where even sunrise will give you the place “all to yourself”. Though we did share the sunrise with about 30 other people (we encountered mainly photographers with tripods and a handful of others), it was still so serene and not nearly as crowded as it was when we left around 8am. I imagine the later in the day you go, the more crowded it will be.
Sunrise or Sunset? This is completely a personal preference. In photos, both look stunning. For me, there’s something about the stillness and serenity early in the morning before the rest of the world is awake that feels like pure magic. If you want to pair that with fewer crowds and you’re okay with the 4am wake up call: sunrise would be my pick! But no matter what time of day you visit Horseshoe Bend, one thing is for sure: this place lives up to the hype and you won’t want to miss seeing it for yourself.
Things to Know Before You Go:
Entrance Fee: As of April 2019, visitors to Horseshoe Bend will have to pay an entry / parking fee of $10 per vehicle to access the overlook. The fees will go toward maintenance of the parking lot and trail leading up to Horseshoe Bend. More info here!
From the parking lot, you will have a short walk/hike to the overlook (about 0.6 miles) before you reach the viewpoint. Make sure to wear comfortable shoes and bring some water.
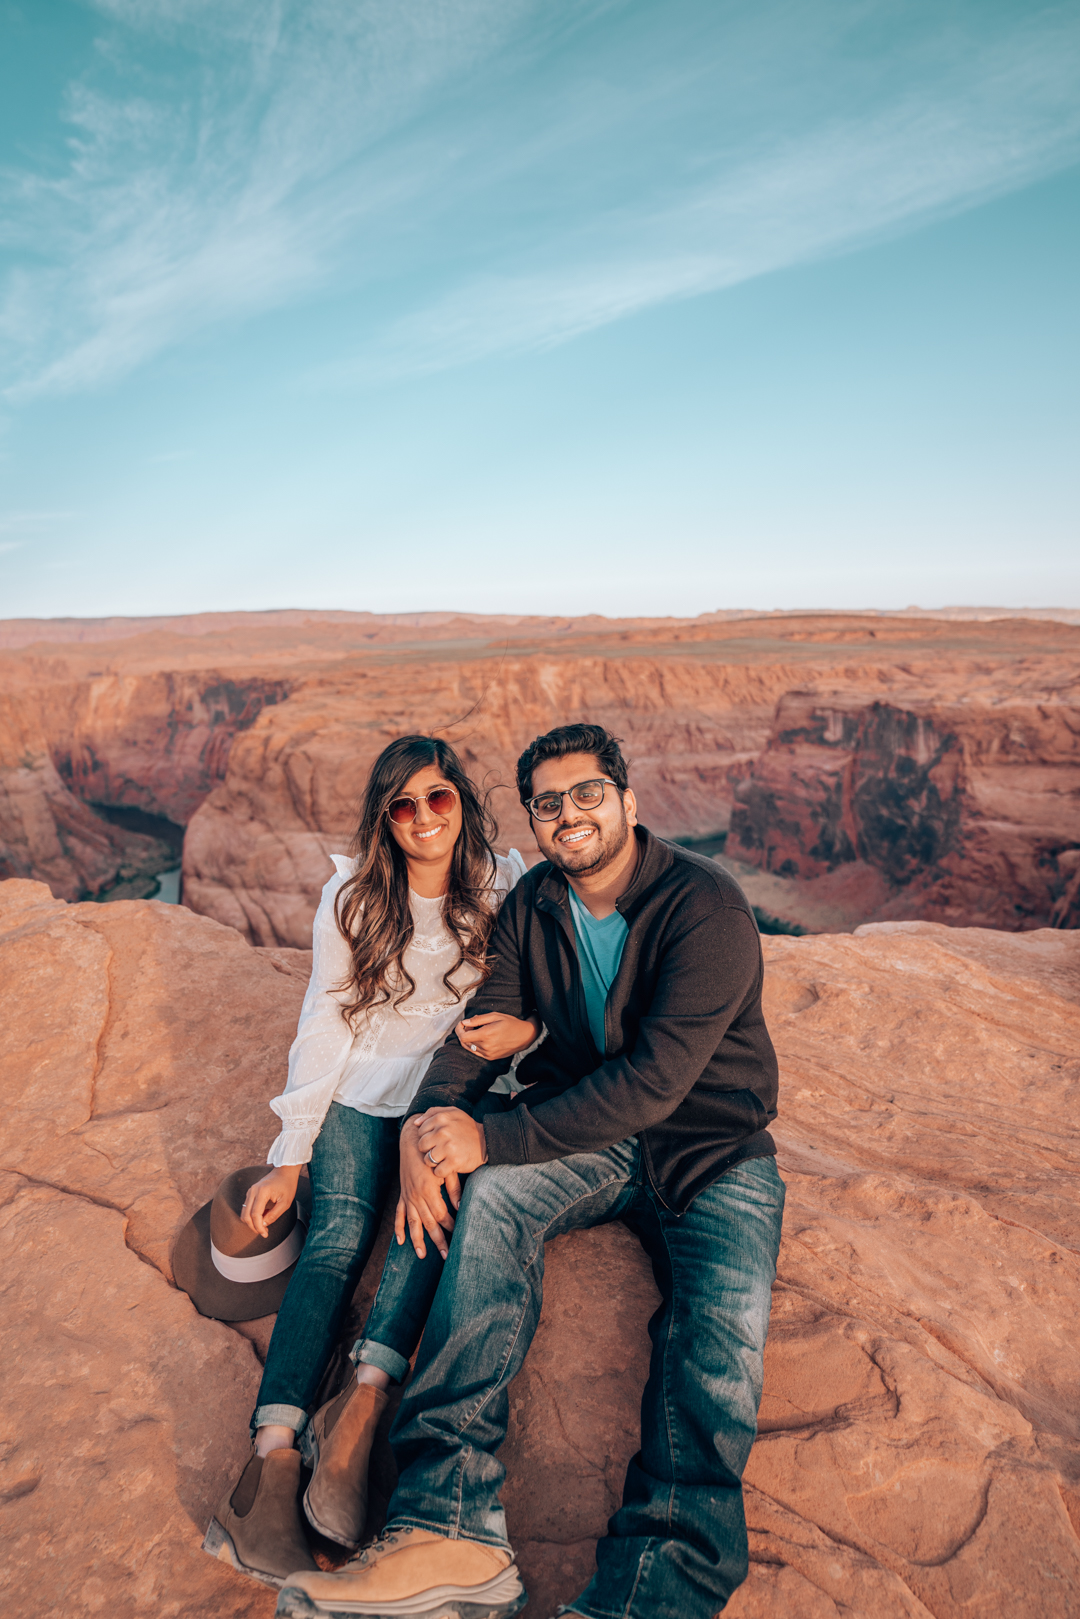
Safety: It can get extremely windy at the overlook and some areas do not have barriers to prevent you from falling. Be safe and remain aware of your surroundings. Do not get too close to the edge on a windy day and risk your life for the sake of a photo — several people have lost their lives from a tragic fall at Horseshoe Bend. Disclaimer: I was sitting near the edge (not on the edge) and played with my camera angles for these photos. It was also not at all windy for a short period of time when these photos were taken.
Sunrise over Horseshoe Bend
Antelope Canyon
Another bucket list destination when visiting Arizona is the marvelous Antelope Canyon.
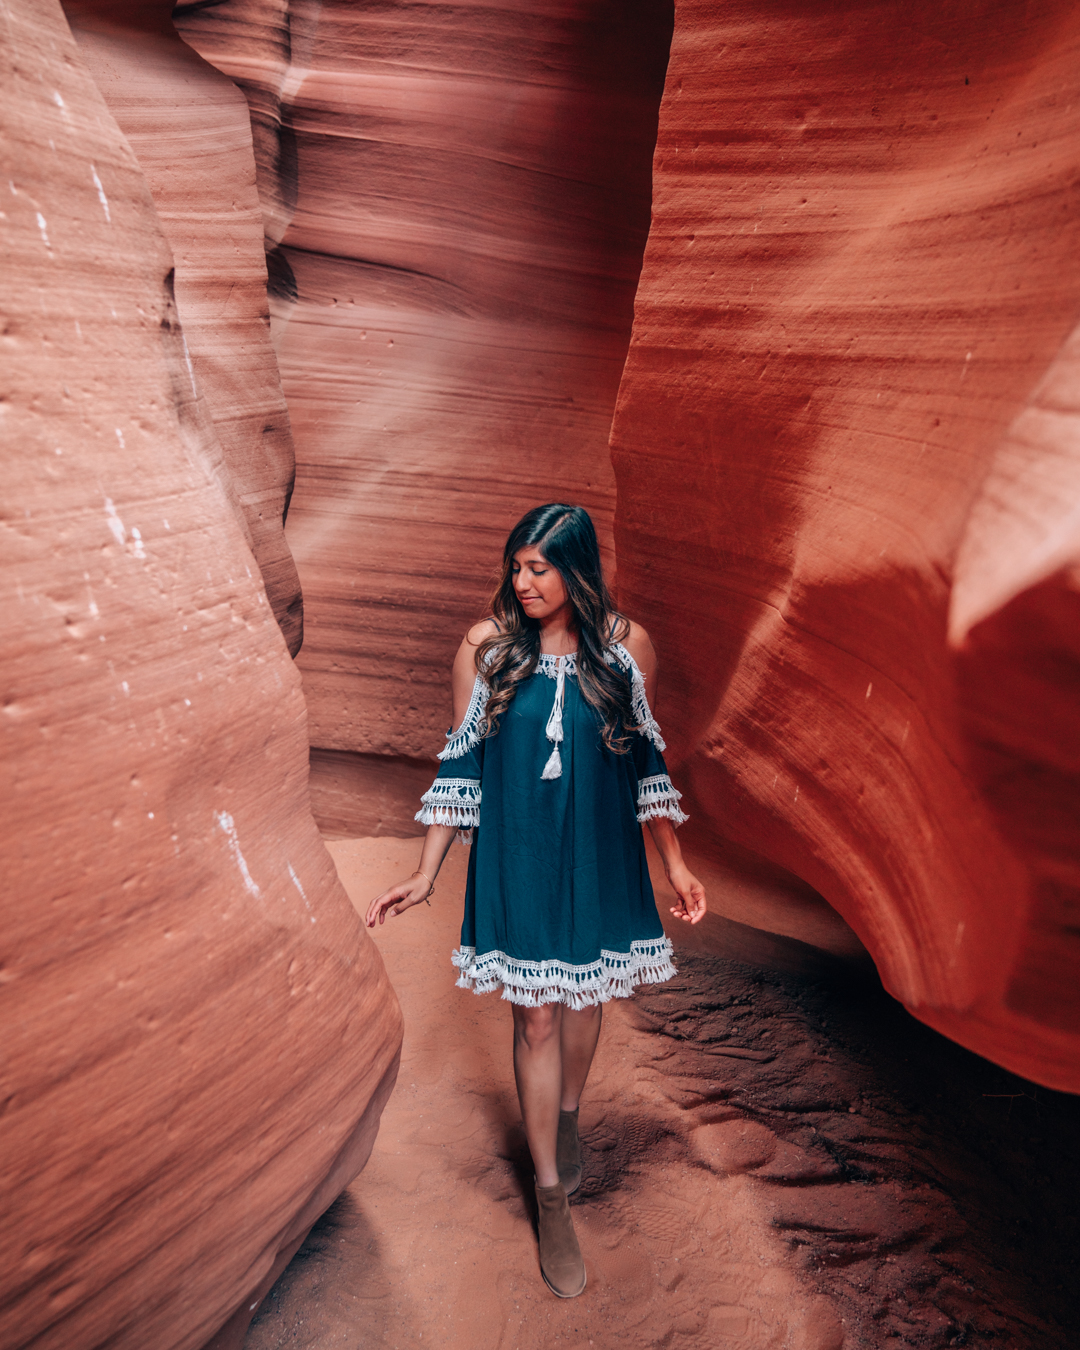
Antelope Canyon is a slot canyon on Navajo land near Page, Arizona and includes two separate canyons — Upper Antelope Canyon and Lower Antelope Canyon. Both canyons can only be visited on a guided tour. I did a lot of research and asked many friends who visited whether it was worth doing both, or if one was better than the other. Since this was such a last minute trip, we didn’t have enough time to buy tickets in advance and were only able to visit Upper Antelope Canyon. It was so incredible and I’m glad this was the one we were able to see!
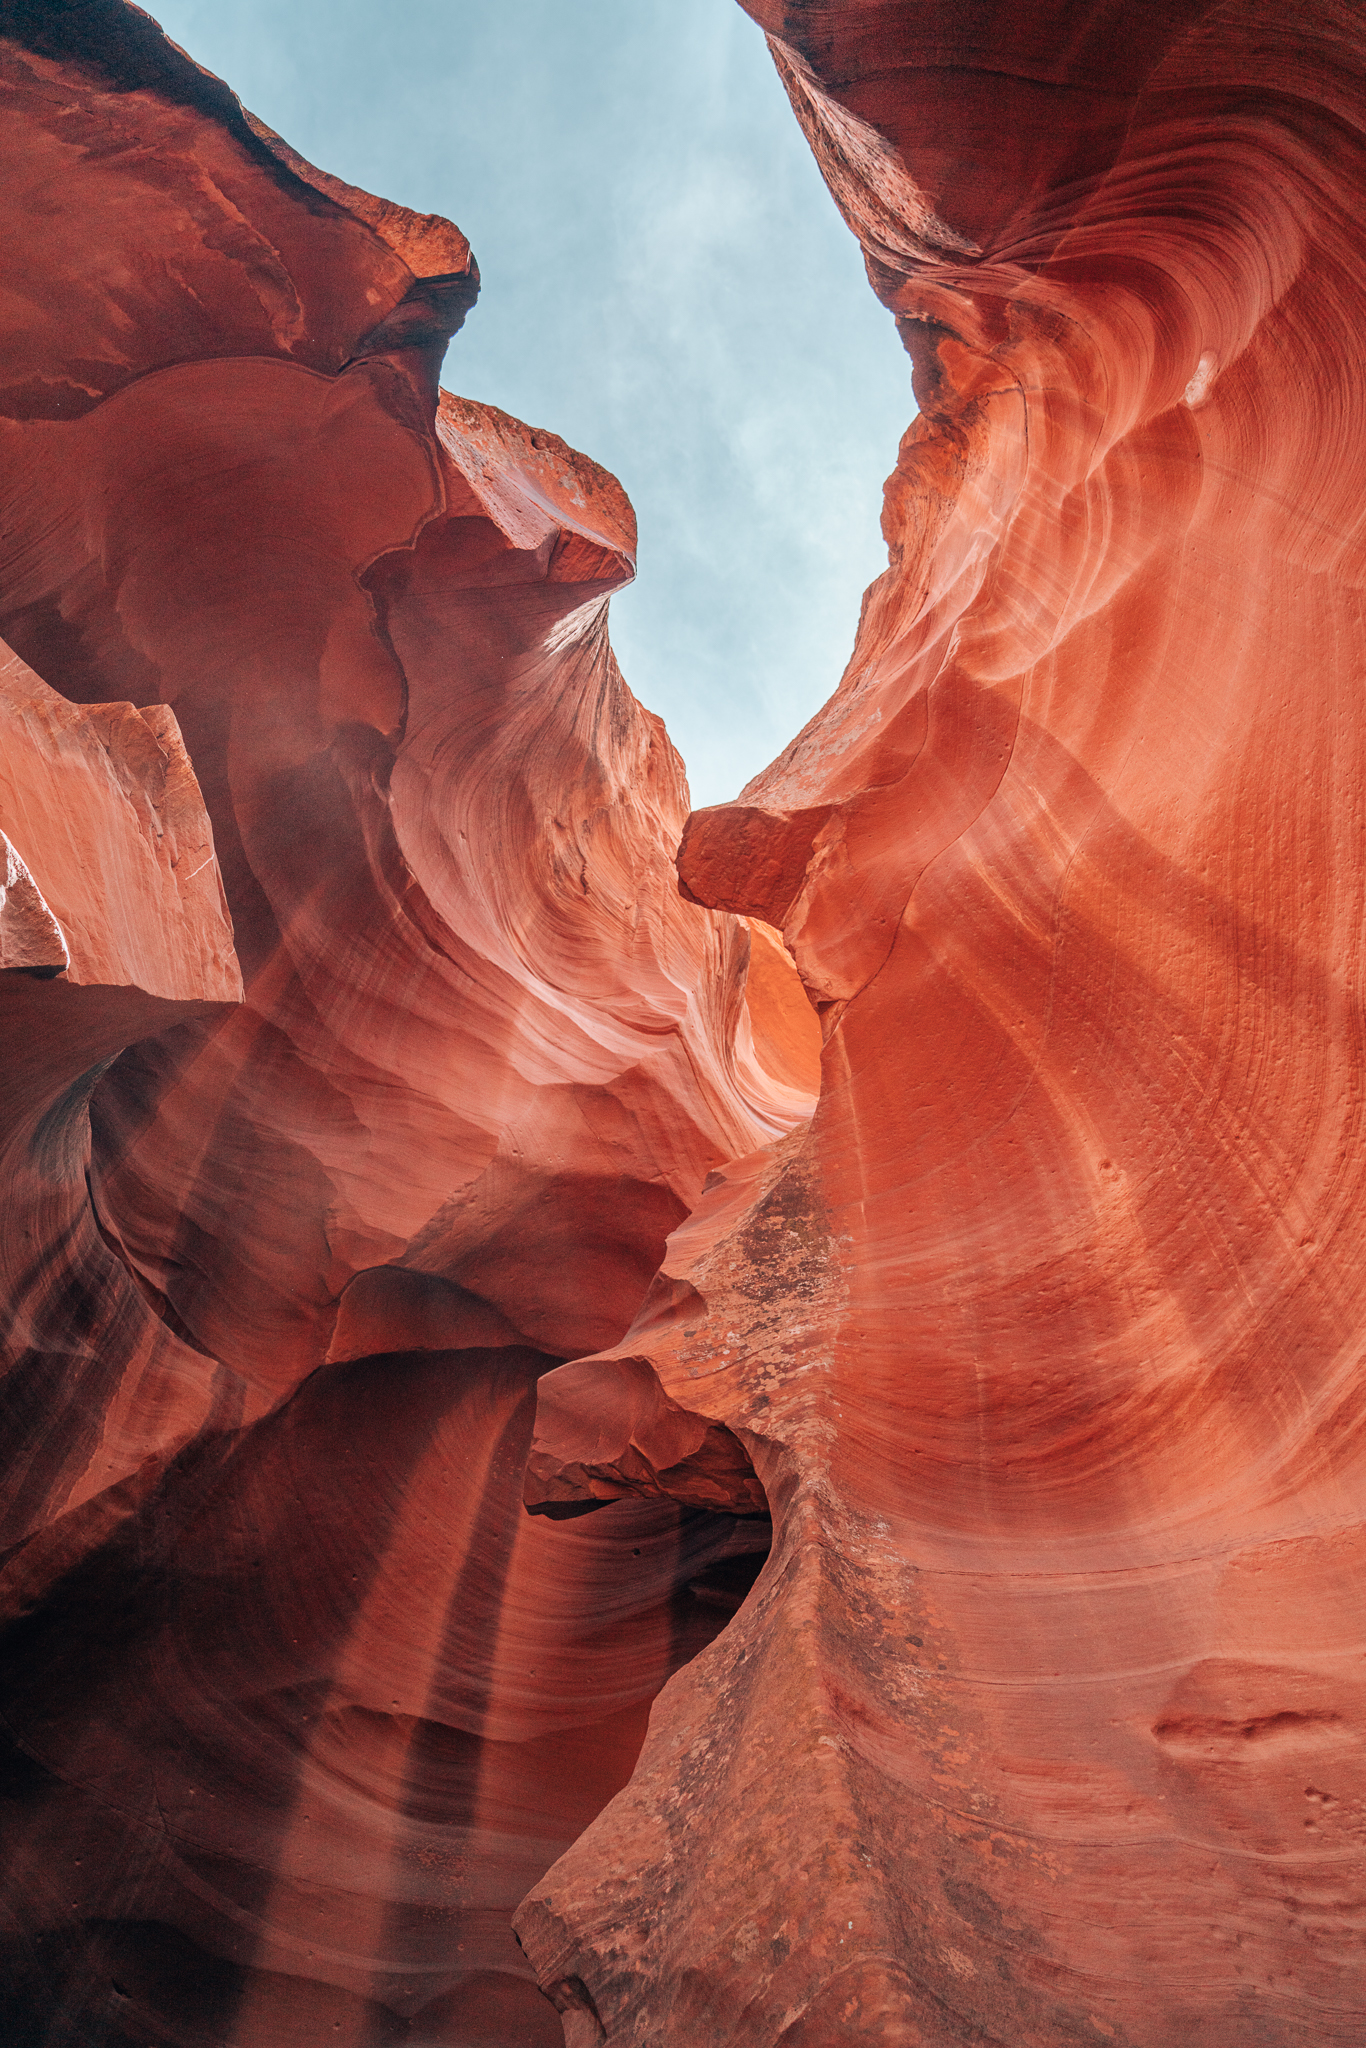
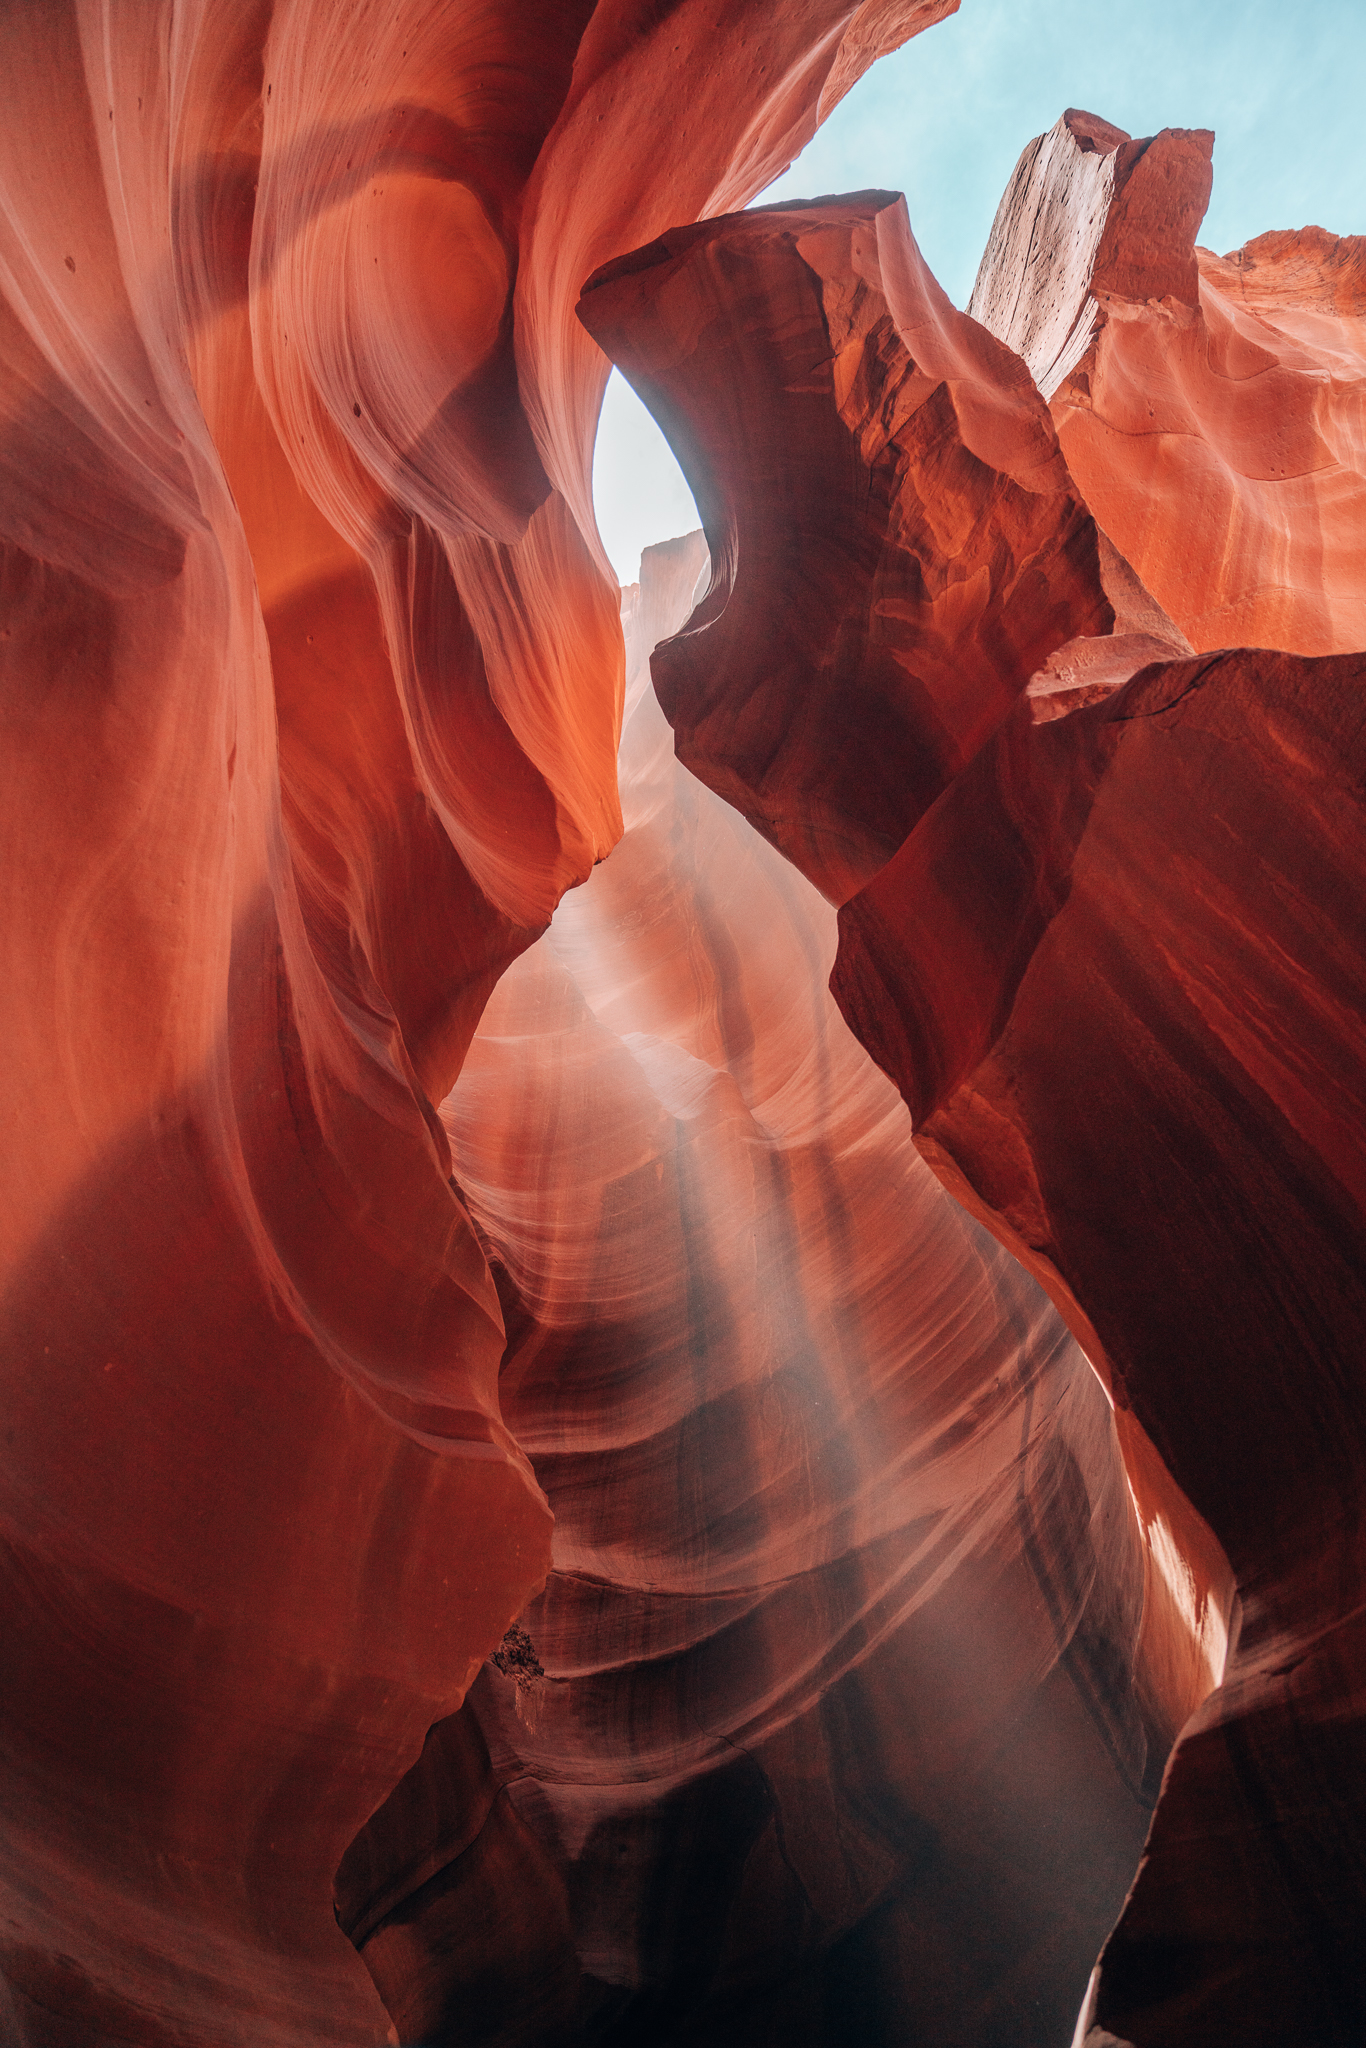
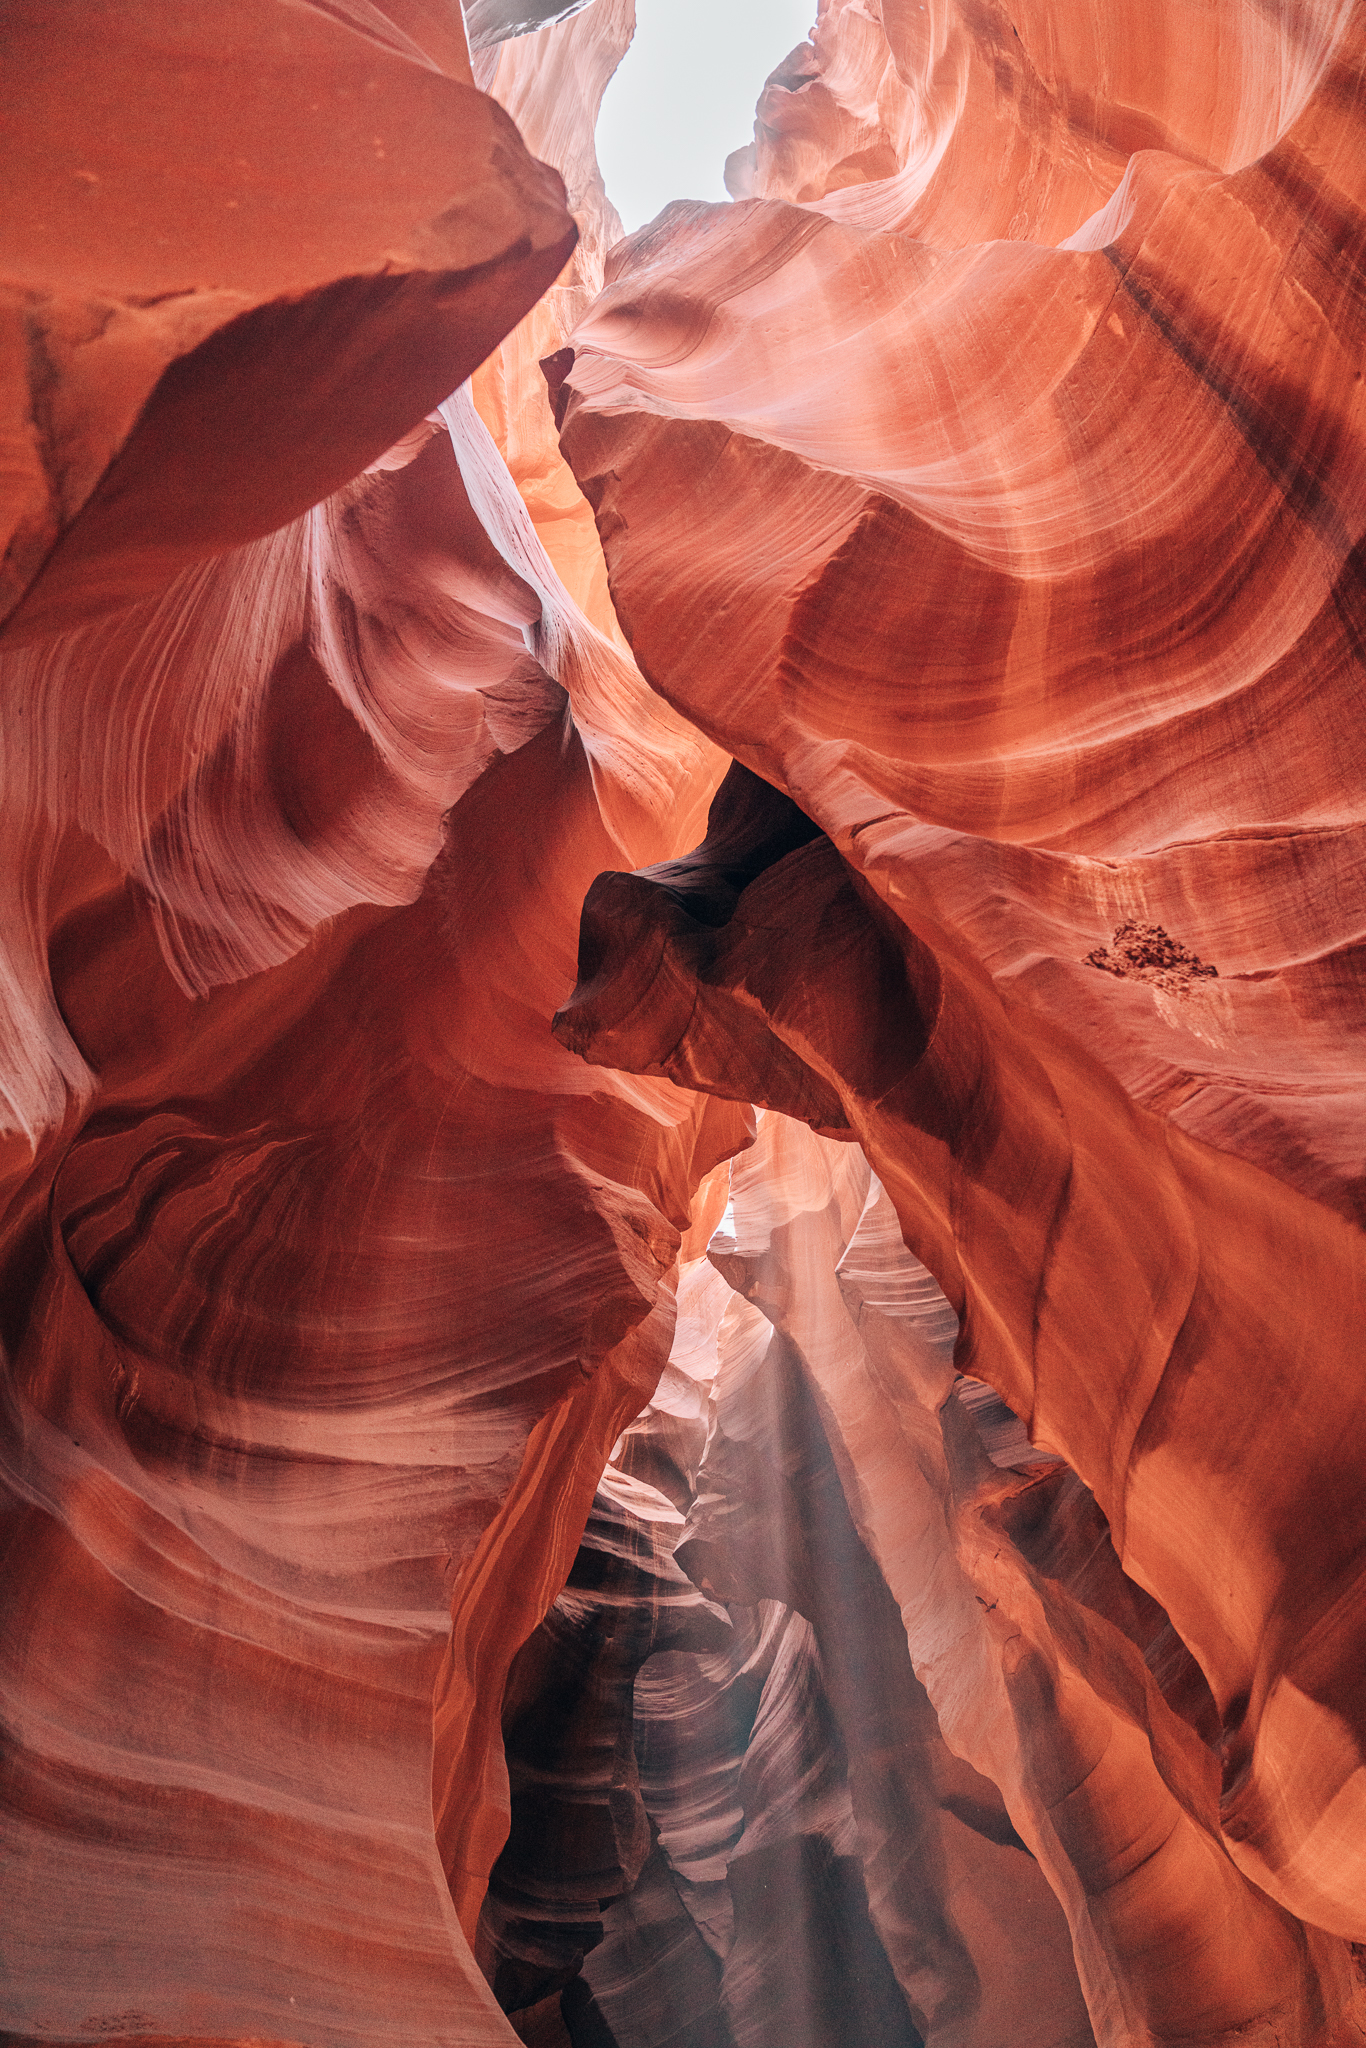
Upper Antelope Canyon is shaped like an upside-down “V” (narrow at the top and wide at the base), making it fairly easy to walk through. The narrow canyon walls at the top are what creates the magical light beams and you can spot them when the sun is at just the right angle. Lower Antelope Canyon is shaped like a “V” (wide at the top and very narrow at the base), with narrow passageways to squeeze through and ladders to climb.
Both canyons look beautiful, but usually when you see photos of Antelope Canyon, they are of Upper Antelope Canyon.
Know Before You Go:
Antelope Canyon can only be visited with a guided tour
Weekend tours sell out months in advance during peak times, so reserve your tickets as soon as you book your flights!
If you want to see and capture photos of the famous light beams, I recommend visiting Upper Antelope Canyon midday, between 11am-1pm. Our tour was at 12:00 and were lucky enough to witness the stunning light beams!
iPhone Photography Tip: Set your phone camera to the Vivid Warm / Dramatic Warm filters to best capture the vibrant colors of the canyon
If you are a photographer and would like to shoot with a tripod set up, you’ll need to book the Photography Tour ($160)
Upper Antelope Canyon - Arizona
How magical are these light beams?
Glen Canyon National Recreation Area
Our last stop of the day was to Glen Canyon National Recreation Area in northern Arizona. It’s home to Glen Canyon Dam (a concrete arch-gravity dam on the Colorado River) and Lake Powell, the largest man-made lake in North America, which boasts a backdrop of eroded red rock canyons. We spent about 30 minutes near Lake Powell admiring the views. If you find yourself here, definitely make time to see Rainbow Bridge — it’s one of the world’s largest known natural bridges.
After a full day of adventure in Page, we made our way back to Phoenix and checked into our hotel for our last night in Arizona. We freshened up a bit and had a nice dinner at Zu Izakaya near Scottsdale, since it was only 20 minutes from our hotel. Order the sake sashimi, tuna carpaccio and chili shrimp — it was all amazing!
Where to Stay: SpringHill Suites by Marriott in Phoenix, AZ
Glen Canyon National Recreation Area
